> ## Documentation Index
> Fetch the complete documentation index at: https://docs.sprig.com/llms.txt
> Use this file to discover all available pages before exploring further.
# Okta
To enable SSO with Okta, complete the following:
1. Contact [support@sprig.com](mailto:support@sprig.com) to claim the email domain(s) that your SSO users will use to sign in.
2. Log into your Sprig account and navigate to the **Settings >** [**Single Sign-On**](https://app.sprig.com/settings/sso).
3. Select **SSO Enabled** and click **Save**.
4. An **Important Values** section should appear. Take note of the values provided. You will use them to configure your Okta integration in Step 10.
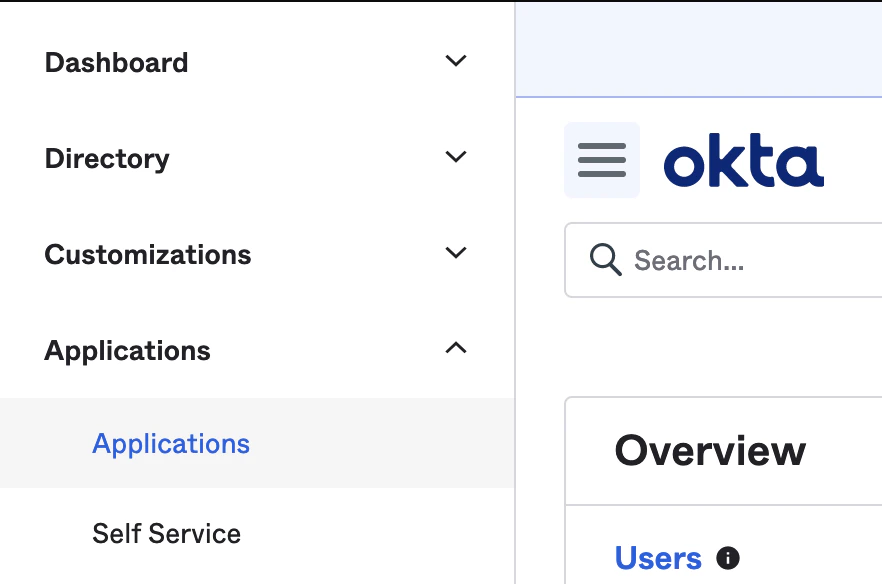
5. Log into your Okta account and go to the **Admin** section. Open the side menu with the hamburger button in the top left corner, and navigate to **Applications > Applications**.
 6. Click on **Create App Integration**.
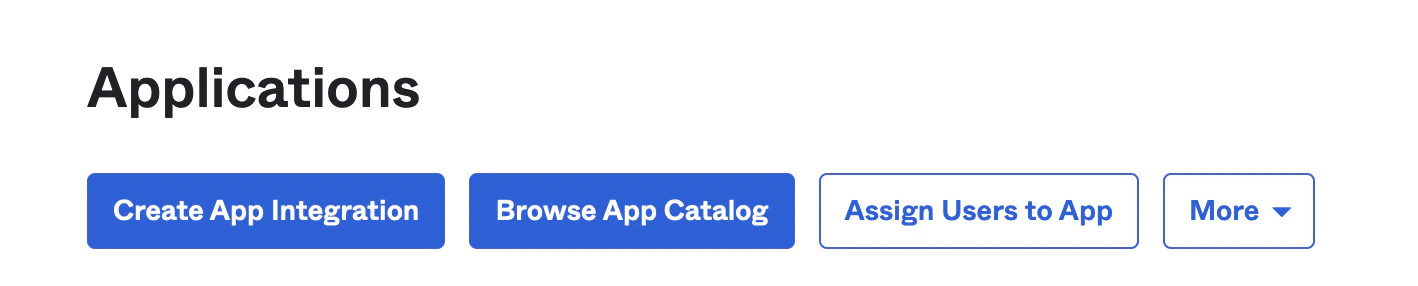 7. A modal window should appear. Select **SAML 2.0** for the sign-in method. Then click **Next**.
 8. Enter **Sprig** for the App Name, and click **Next**.
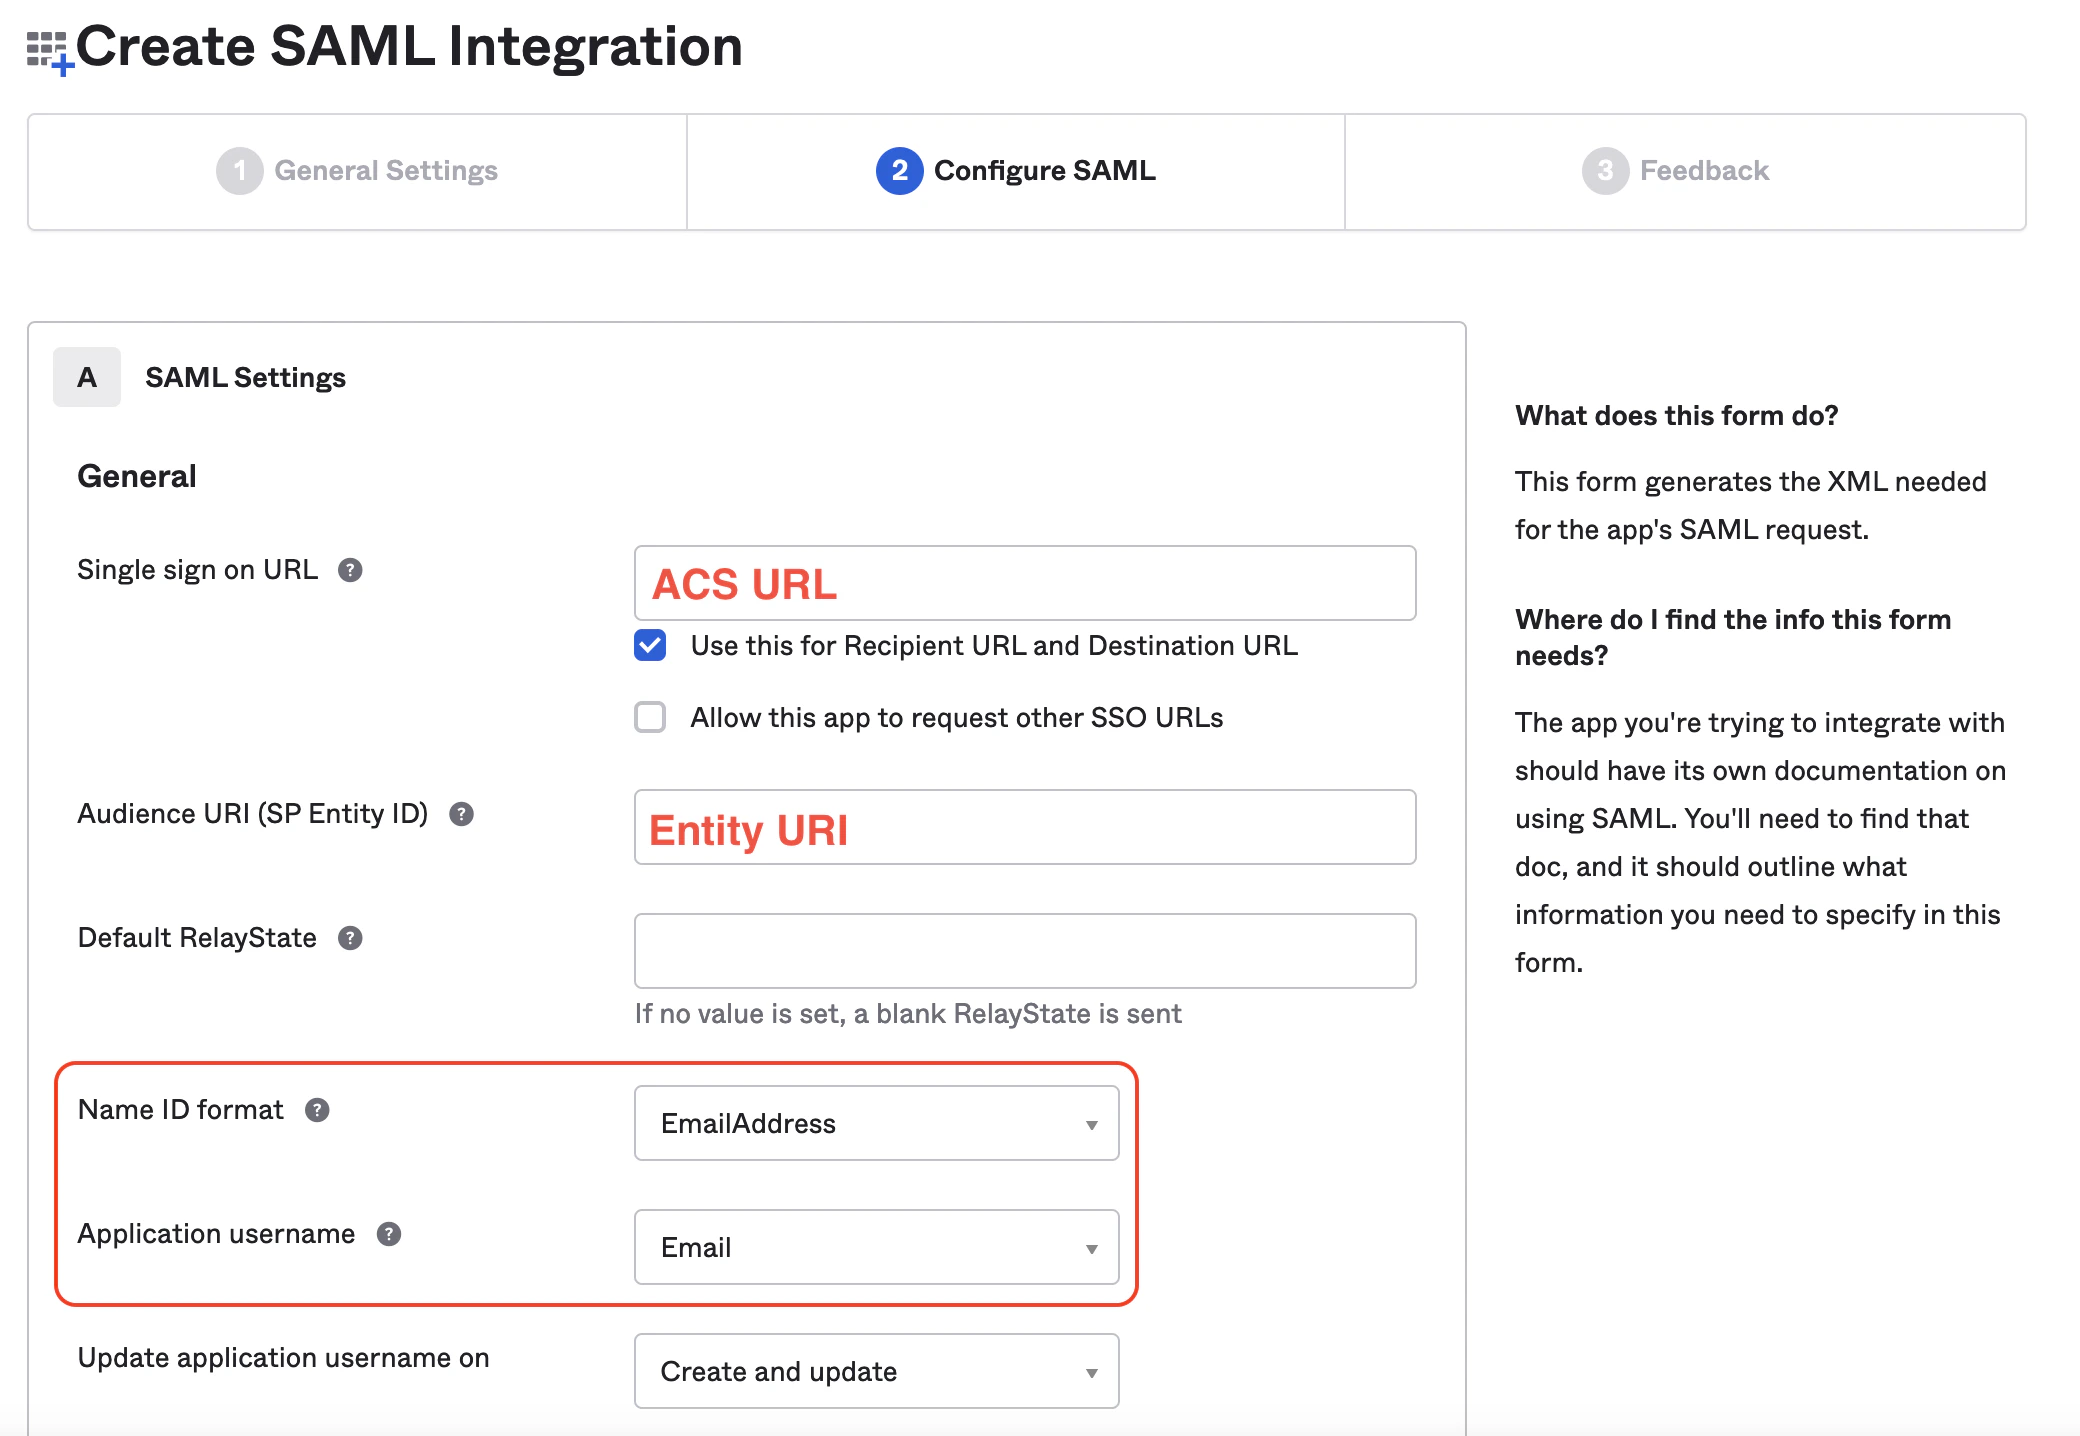
9. The next screen is where you will input the SAML settings. Use the values you were provided on the Sprig SSO settings page in Step 4 to enter the **ACS URL** into the **Single sign on URL** field, and the **Entity URI** into the **Audience URI (SP Entity ID)** field. Select **EmailAddress** from the **Name ID format** dropdown, then select **Email** from the **Application username** dropdown. Do not edit the checkboxes under the **Single sign on URL** field.
8. Enter **Sprig** for the App Name, and click **Next**.
9. The next screen is where you will input the SAML settings. Use the values you were provided on the Sprig SSO settings page in Step 4 to enter the **ACS URL** into the **Single sign on URL** field, and the **Entity URI** into the **Audience URI (SP Entity ID)** field. Select **EmailAddress** from the **Name ID format** dropdown, then select **Email** from the **Application username** dropdown. Do not edit the checkboxes under the **Single sign on URL** field.
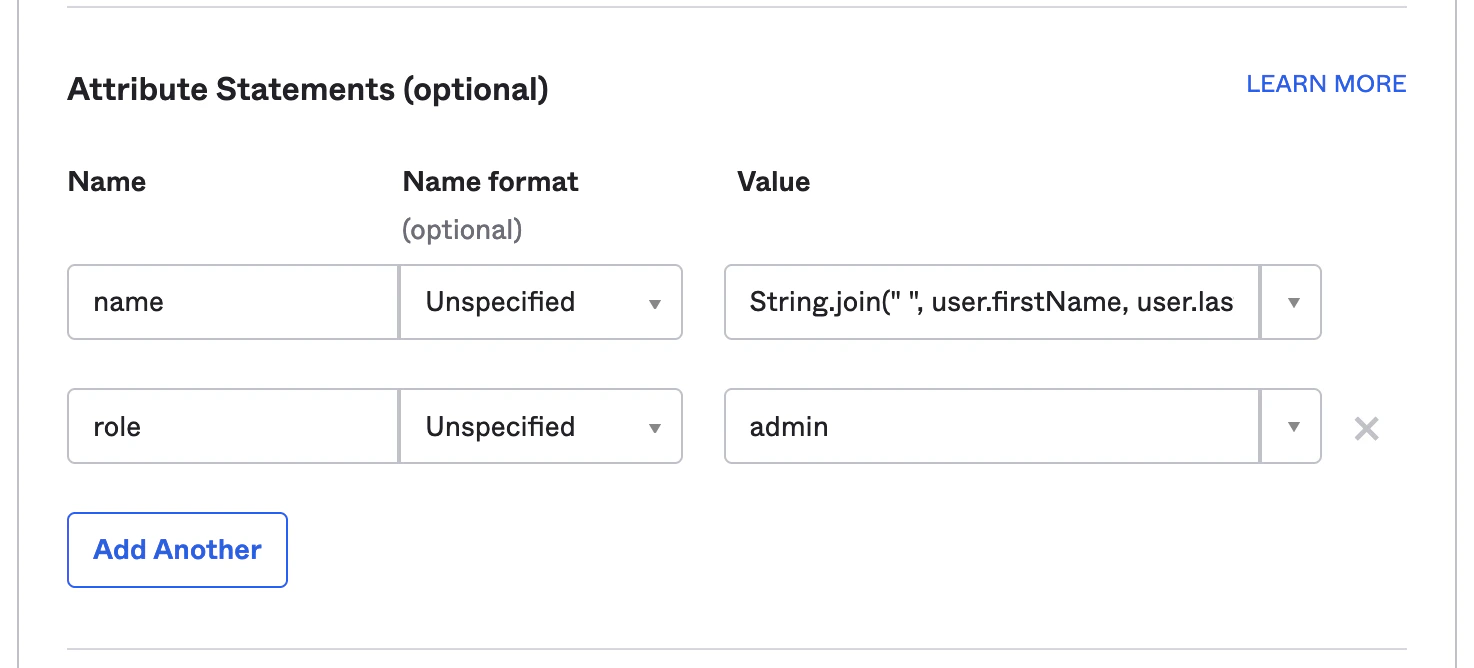
 10. In the attributes section add an attribute so that there are two. Enter “name” and “role” for the **Name** fields. Leave the **Name format** fields as **Unspecified**. In the **Value** fields enter [Okta Expression Language](https://developer.okta.com/docs/reference/okta-expression-language/) expressions that will provide the name and role for your Sprig users. The “role” field needs to evaluate to one of: `admin` , `editor` , `developer` , or `viewer` . Sprig roles are described [here](/docs/account-and-settings/team-management-roles/roles-permissions). If you are not sure what to enter here you can add `String.join(" ", user.firstName, user.lastName)` for **name** and `admin` for **role**.
 11. Leave the **Group Attribute Statements** section blank. Scroll down to the bottom of the page and click **Next**.
12. Fill out the necessary fields in the **Feedback** section and click **Finish**.
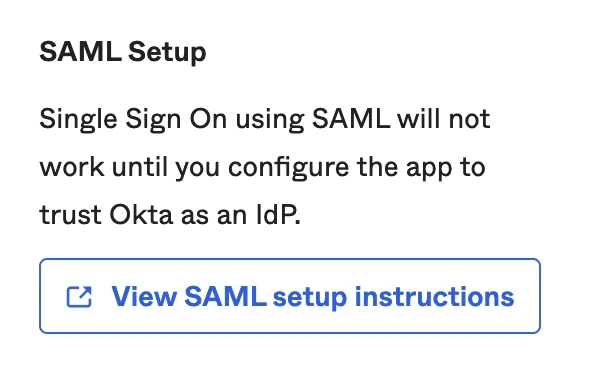
13. You should now be taken to your new app’s integration page. Make sure you're on the **Sign On** tab, then scroll down and click **View SAML Setup Instructions**
11. Leave the **Group Attribute Statements** section blank. Scroll down to the bottom of the page and click **Next**.
12. Fill out the necessary fields in the **Feedback** section and click **Finish**.
13. You should now be taken to your new app’s integration page. Make sure you're on the **Sign On** tab, then scroll down and click **View SAML Setup Instructions**
 14. A new tab will open with configuration values. You will be using these values to configure Sprig SSO in the next step.
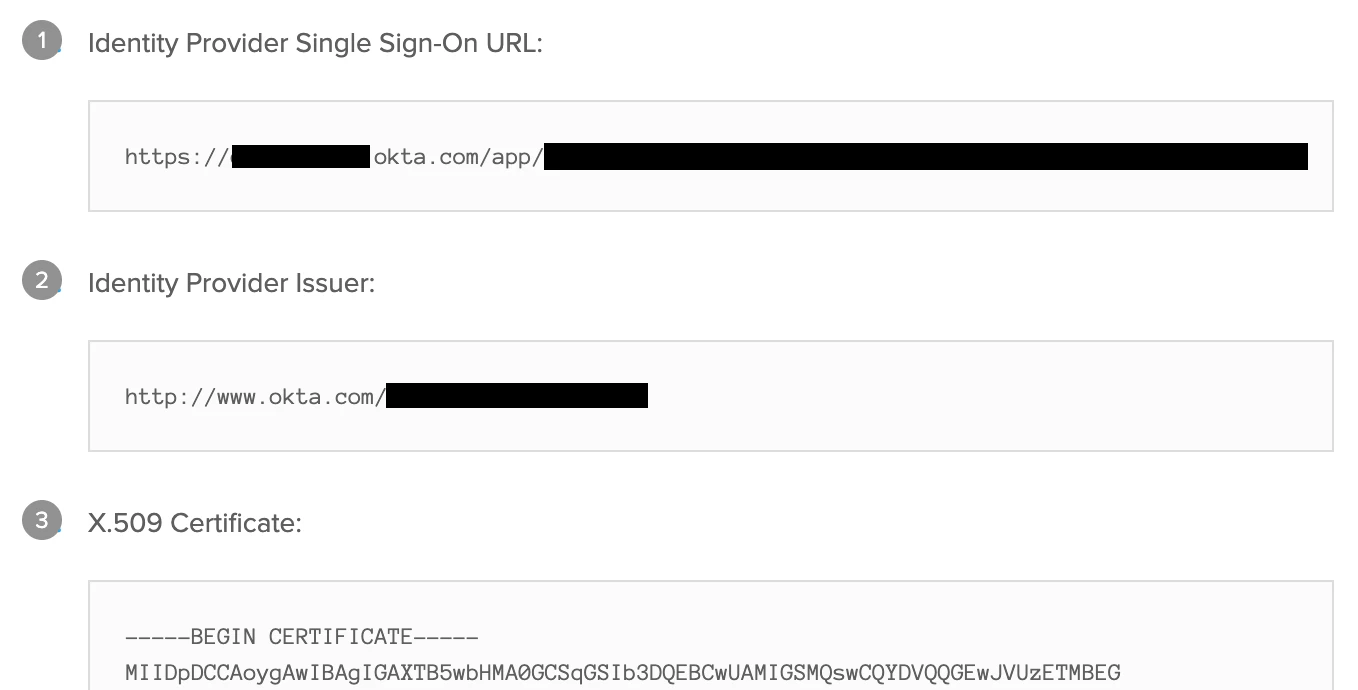 15. Navigate to the Sprig [SSO Settings Page](https://app.sprig.com/settings/sso). Copy the values from the previous step into the corresponding fields in the “Your Identity Provider” section
* **Identity Provider Single Sign-On URL → Entry Point URL**
* **Identity Provider Issuer → Issuer URL**
* **X.509 Certificate → X.509 Certificate**
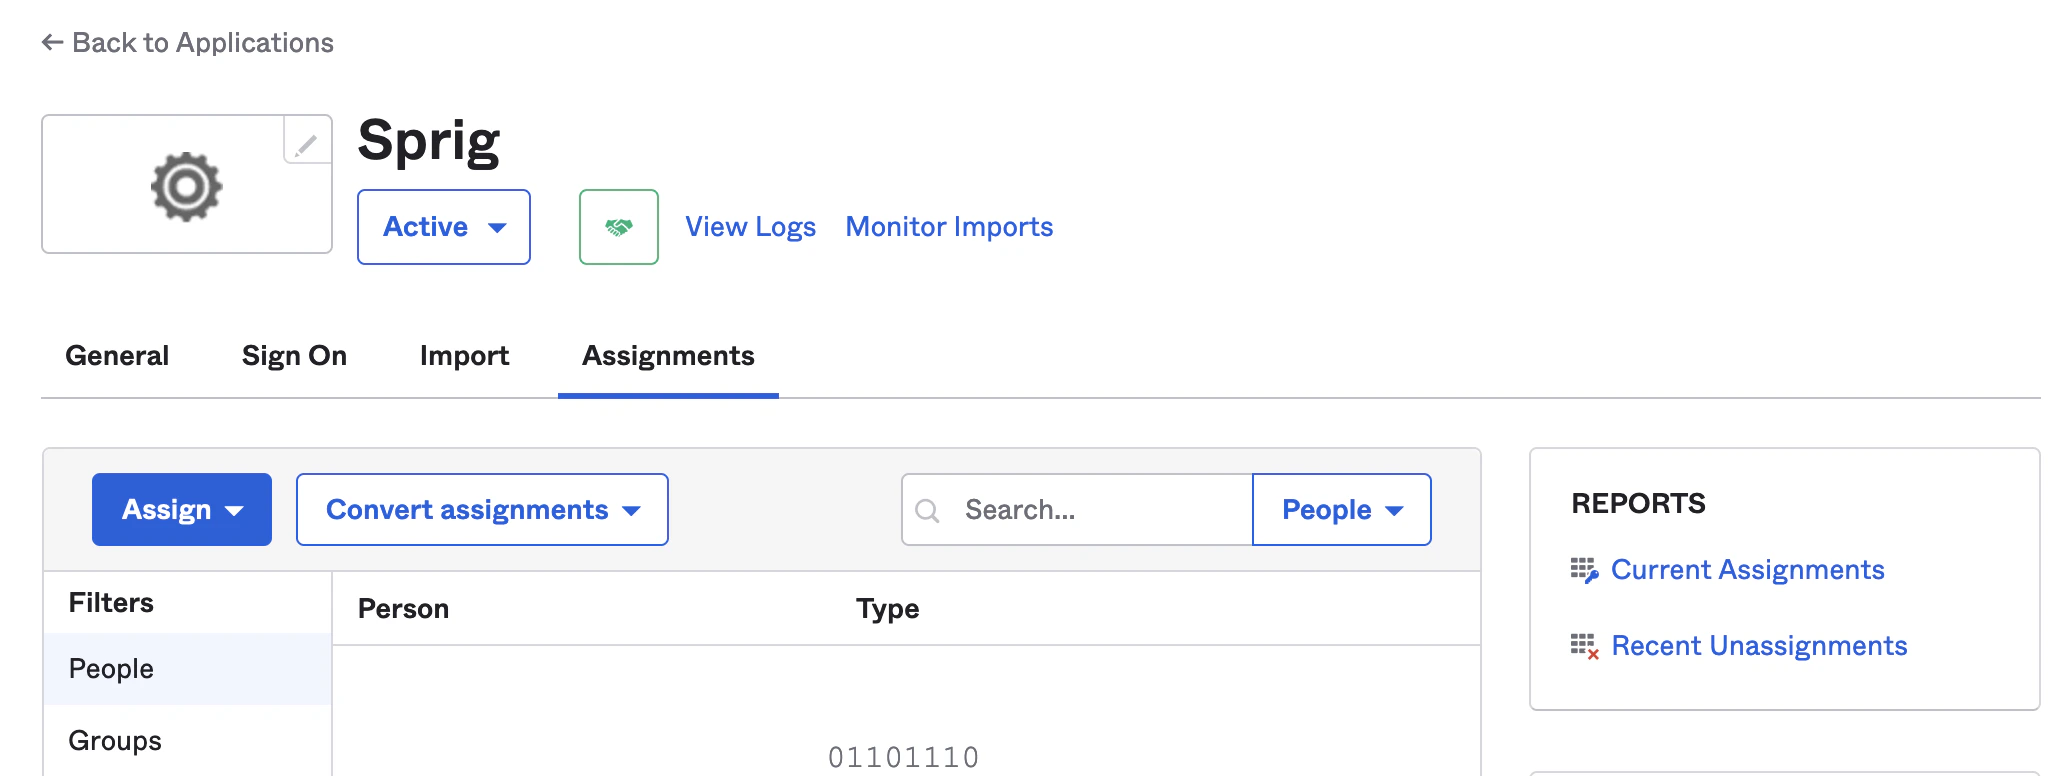
16. Click the **Save** button in the **Your Identity Provider section**. You now can assign users in the **Assignments** tab of your Okta application integration.
15. Navigate to the Sprig [SSO Settings Page](https://app.sprig.com/settings/sso). Copy the values from the previous step into the corresponding fields in the “Your Identity Provider” section
* **Identity Provider Single Sign-On URL → Entry Point URL**
* **Identity Provider Issuer → Issuer URL**
* **X.509 Certificate → X.509 Certificate**
16. Click the **Save** button in the **Your Identity Provider section**. You now can assign users in the **Assignments** tab of your Okta application integration.
 Users that are assigned to the Okta application integration will now be able to sign in using the Sprig [SSO login page](https://app.sprig.com/login/sso).