> ## Documentation Index
> Fetch the complete documentation index at: https://docs.sprig.com/llms.txt
> Use this file to discover all available pages before exploring further.
# OneLogin
To enable SSO with OneLogin, complete the following:
1. Contact [support@sprig.com](mailto:sso@sprig.com) to claim the email domain(s) that your SSO users will use to sign in.
2. Log in to Sprig and go to [Settings > Single Sign On](https://app.sprig.com/settings/sso).
3. Select **SSO Enabled** option, and click **Save**.
4. An *Important Values* section will appear. Take note of the values provided. You will use them to configure your OneLogin integration in step 8.
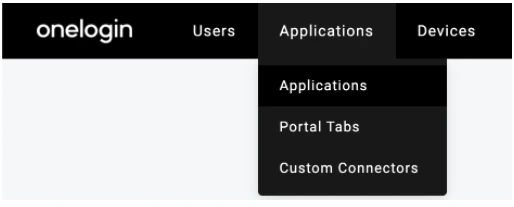
5. Log in to your OneLogin account and go to the **Administration** section. Navigate to the **Applications** page.
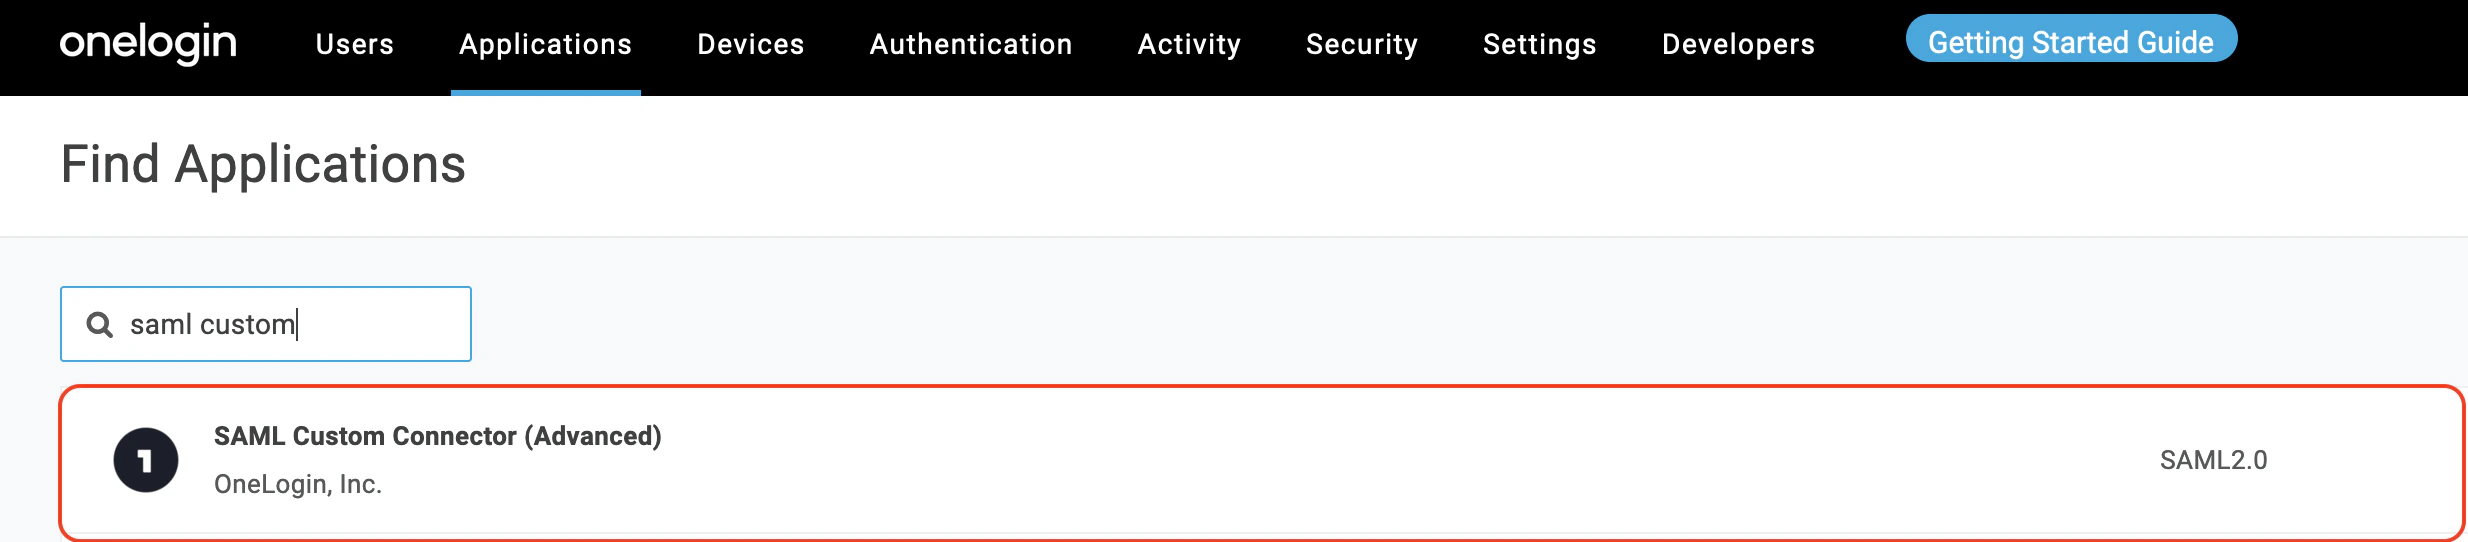
 6. Click the **Add App** on the right side of the page. In the search field, enter *Saml Custom Connector*. Choose SAML Custom Connector (Advanced) provided by *OneLogin Inc*:
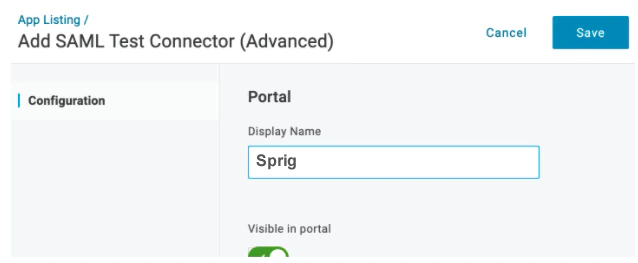
 7. In the **Display Name** field, enter a name and click **Save**.
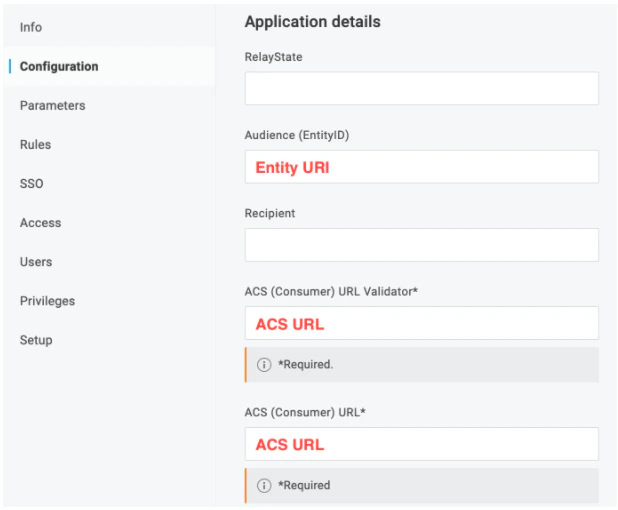
 8. Click **Configuration**. Use the *Important Values* you were provided in step 4 to cut and paste the *Entity URI* into the **Audience (EntityID)** field, and the *ACS URL* into both the **ACS (Consumer) URL Validator** field and the **ACS (Consumer) field**.
 9. Click **Parameters**. Click
  to add a parameter.
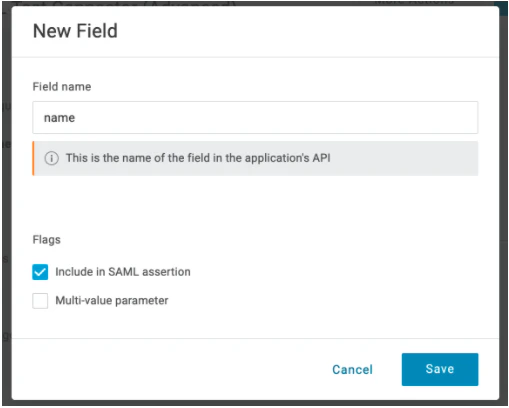
10. Enter `name` in the Field name field. Select the **Include in SAML assertion** option. Click **Save**.
to add a parameter.
10. Enter `name` in the Field name field. Select the **Include in SAML assertion** option. Click **Save**.
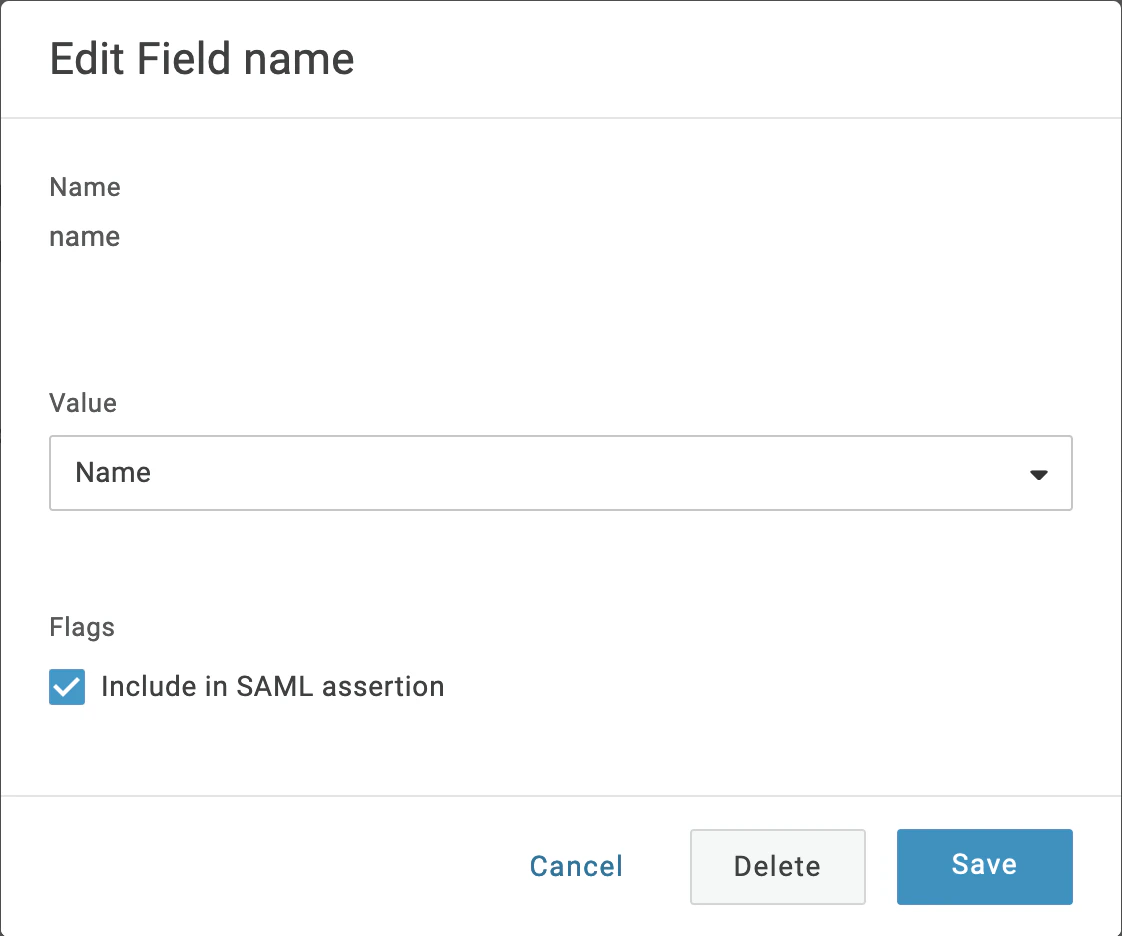
 10. In the **Value** drop-down list select **Name**.
 12. Click again on **Parameters**. Click to add another parameter.
13. Enter `role` in the **Field name** field. Select the **Include in SAML assertion** option. Click **Save**.
14. In the **Value** drop-down list select **- Macro -** . Either enter `admin` , `editor`, `developer` , or `viewer` in the field. Sprig roles are described [here](/docs/account-and-settings/team-management-roles/roles-permissions). Roles can be configured on a per-user basis using [user attribute macros](https://onelogin.service-now.com/kb_view_customer.do?sysparm_article=KB0010609). If you don’t have the appropriate attribute configured for users yet, you can choose “- Macro -” again and enter `admin`, and all assigned users will receive “admin” permissions.
15. You will configure the SAML settings. Click on the **SSO** tab. In the SAML Signature Algorithm dropdown, select **SHA-256**.
16. Navigate to the Sprig's [**Settings>Single Sign-On**](https://app.sprig.com/settings/sso). Copy the values from the SSO tab in the previous step into the corresponding fields in the **Your Identity Provider** section:
* **Issuer URL → Issuer URL**
* **SAML 2.0 Endpoint → Entry Point URL**
15. Now in the OneLogin **SSO** tab, click **View Details** link under the **X.509 Certificate** field. A new page will appear. Copy the text inside the X.509 Certificate field and paste it into the **X.509 Certificate** field in Sprig's [**Settings>Single Sign-On**](https://app.sprig.com/settings/sso). Click “Save”.
Users that are assigned to the OneLogin application integration will now be able to sign in using the Sprig [SSO login page](https://app.sprig.com/login/sso).
12. Click again on **Parameters**. Click to add another parameter.
13. Enter `role` in the **Field name** field. Select the **Include in SAML assertion** option. Click **Save**.
14. In the **Value** drop-down list select **- Macro -** . Either enter `admin` , `editor`, `developer` , or `viewer` in the field. Sprig roles are described [here](/docs/account-and-settings/team-management-roles/roles-permissions). Roles can be configured on a per-user basis using [user attribute macros](https://onelogin.service-now.com/kb_view_customer.do?sysparm_article=KB0010609). If you don’t have the appropriate attribute configured for users yet, you can choose “- Macro -” again and enter `admin`, and all assigned users will receive “admin” permissions.
15. You will configure the SAML settings. Click on the **SSO** tab. In the SAML Signature Algorithm dropdown, select **SHA-256**.
16. Navigate to the Sprig's [**Settings>Single Sign-On**](https://app.sprig.com/settings/sso). Copy the values from the SSO tab in the previous step into the corresponding fields in the **Your Identity Provider** section:
* **Issuer URL → Issuer URL**
* **SAML 2.0 Endpoint → Entry Point URL**
15. Now in the OneLogin **SSO** tab, click **View Details** link under the **X.509 Certificate** field. A new page will appear. Copy the text inside the X.509 Certificate field and paste it into the **X.509 Certificate** field in Sprig's [**Settings>Single Sign-On**](https://app.sprig.com/settings/sso). Click “Save”.
Users that are assigned to the OneLogin application integration will now be able to sign in using the Sprig [SSO login page](https://app.sprig.com/login/sso).