Sprig SDK Installation & Event/Attribute Instrumentation Required for TargetingIn-product Studies like Surveys, Feedback, Replays and Heatmaps require SDK installation and events to be instrumented to properly capture your user’s experience. Learn more about Installation, Events and Attributes Overview
Targeting unlocks the full potential of Sprig by enabling you to reach the right users at the right time across Surveys, Feedback, Replays, and Heatmaps, using study trigger events and/or URLs, user filters, and other advanced filters.
Study Triggers
Study triggers consist of events and/or URLs that initiate Surveys, Feedback, Replays, and Heatmaps, and are required for all in-product studies.
Events coming from server-side integrations (such as Rudderstack or Segment as a source rather than a destination) are not able to trigger studies. However, they can be used in your target users’ event history. Steps to add a Study Trigger:
- Configure your Survey (for Surveys & Feedback)
- Select a Platform
- Select Trigger Type:
- Click Add event or URL
- Heatmaps and Feedback are restricted to inline URL events only
- (optional) Add additional triggers - Sprig supports up to 10 triggers per in-product study.
- Configure Trigger: Event Properties (optional)
- Event properties allow you to more specifically target users, limited to Code events
- Note: You are limited to 10 event properties across all triggers in a study. For example, if your study has 2 triggers, you can have 5 event property filters per trigger.
Note: You can use the same event to trigger more than one Study, but if the same study type, your visitors will be evenly sampled to contribute to a study
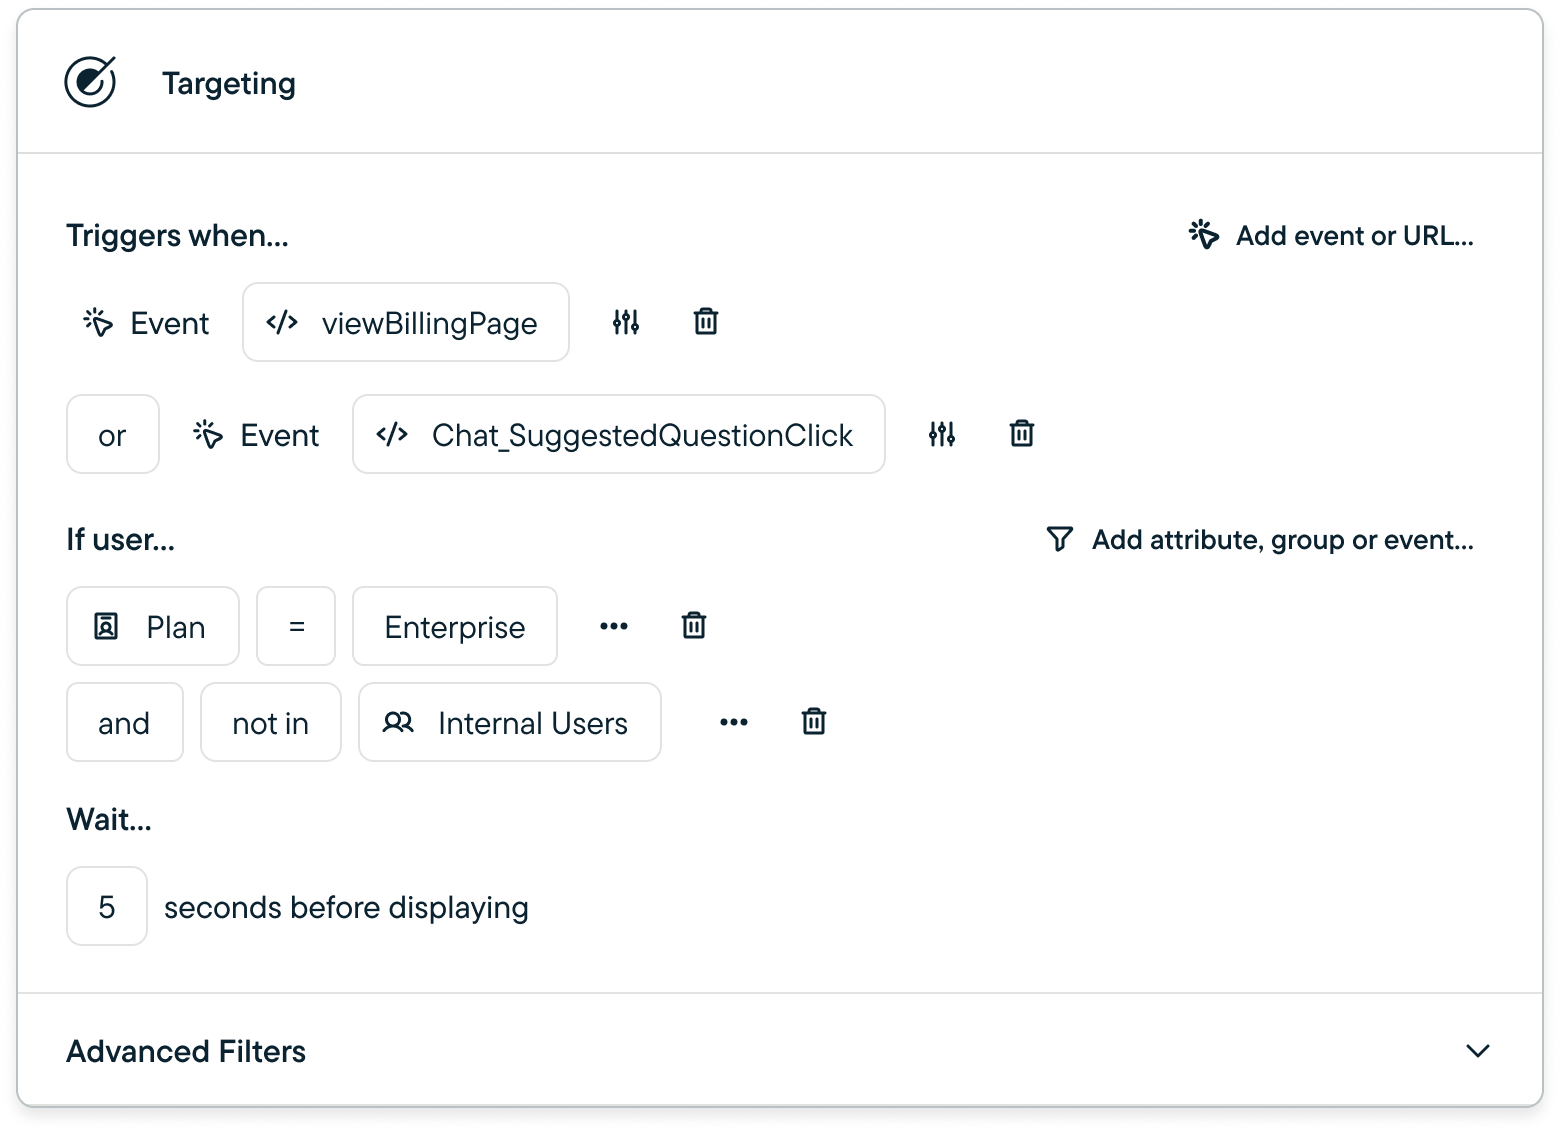
Wait Time Filter - Surveys Only (Optional)
Wait times allow you to ensure that you are not interrupting key user flows. Adding a wait time will delay the survey from displaying for some number of seconds.
Inline URL Event Triggers
Inline URL Event Triggers work the same under the hood as No Code Events, just with the ability to create a No Code Event directly inline from the Targeting card.
As with all No Code Events, your SDK must first be installed on the same page that you are targeting with a URL.
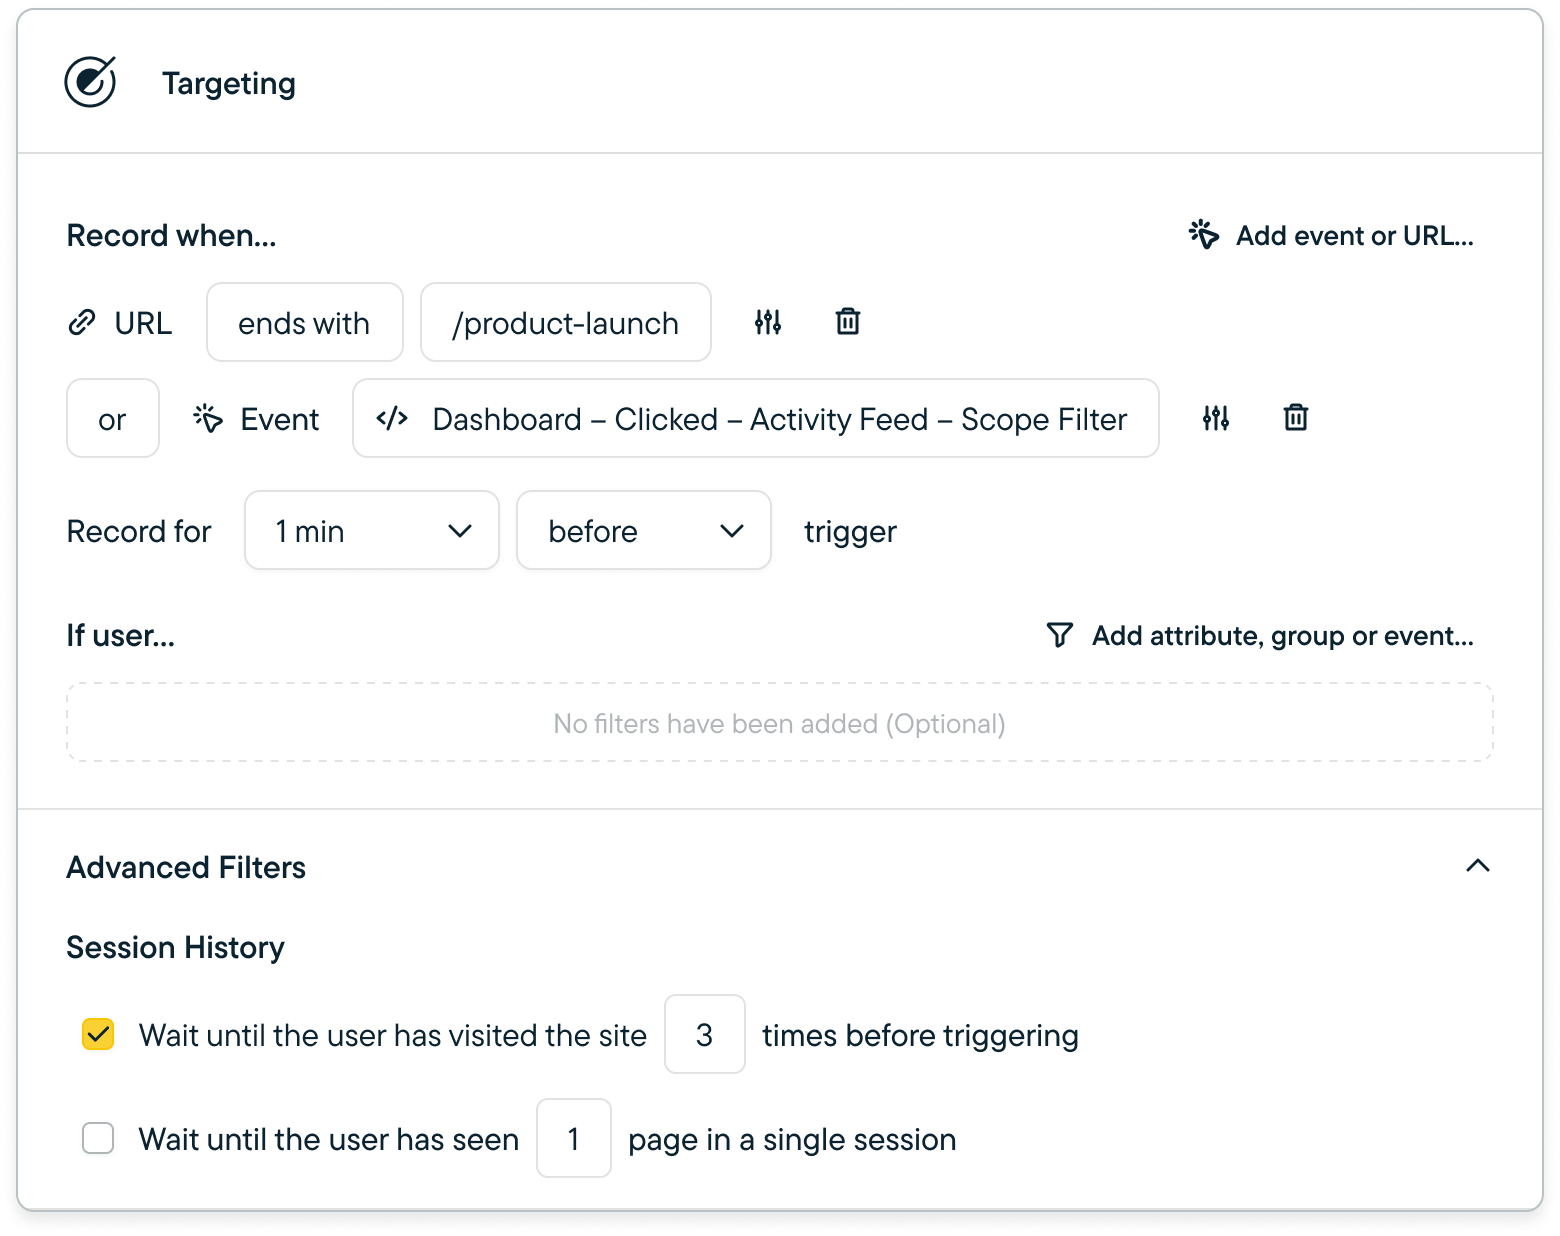
Advanced Session Filters
- Session History - # of visits before triggering
- Measured as 12-hour windows in which a visitor has one or more events tracked
- Page View History - # of web pages seen in a single session (Web studies only)
User Filters - Attributes, Group or Event History (Optional)
User filters allow you to target specific user segments based on their attributes or behaviors. This helps in personalizing the study to relevant user groups.
There are several types of filters available:
- Attributes: Enables filtering by properties of your users (e.g.
Plan = Enterprise)
- Groups: Enables filtering by groups of users
- Event History: Enables filtering by previous interactions (e.g.
Dashboard - Sign Up Complete Last Occurred > 60 Days Ago)
- Question Types & Logic Statements( e.g.
How would you rate your satisfaction with the following is 4)
- No Code Event URLs
- Frustration Signals - Public Beta(e.g.
Rage Clicks = to 5)
Steps to Add a User Filter:
- Click the Filter button
- Select one of the available categories, depending on Survey Type, categories and options will vary - see options variables below:
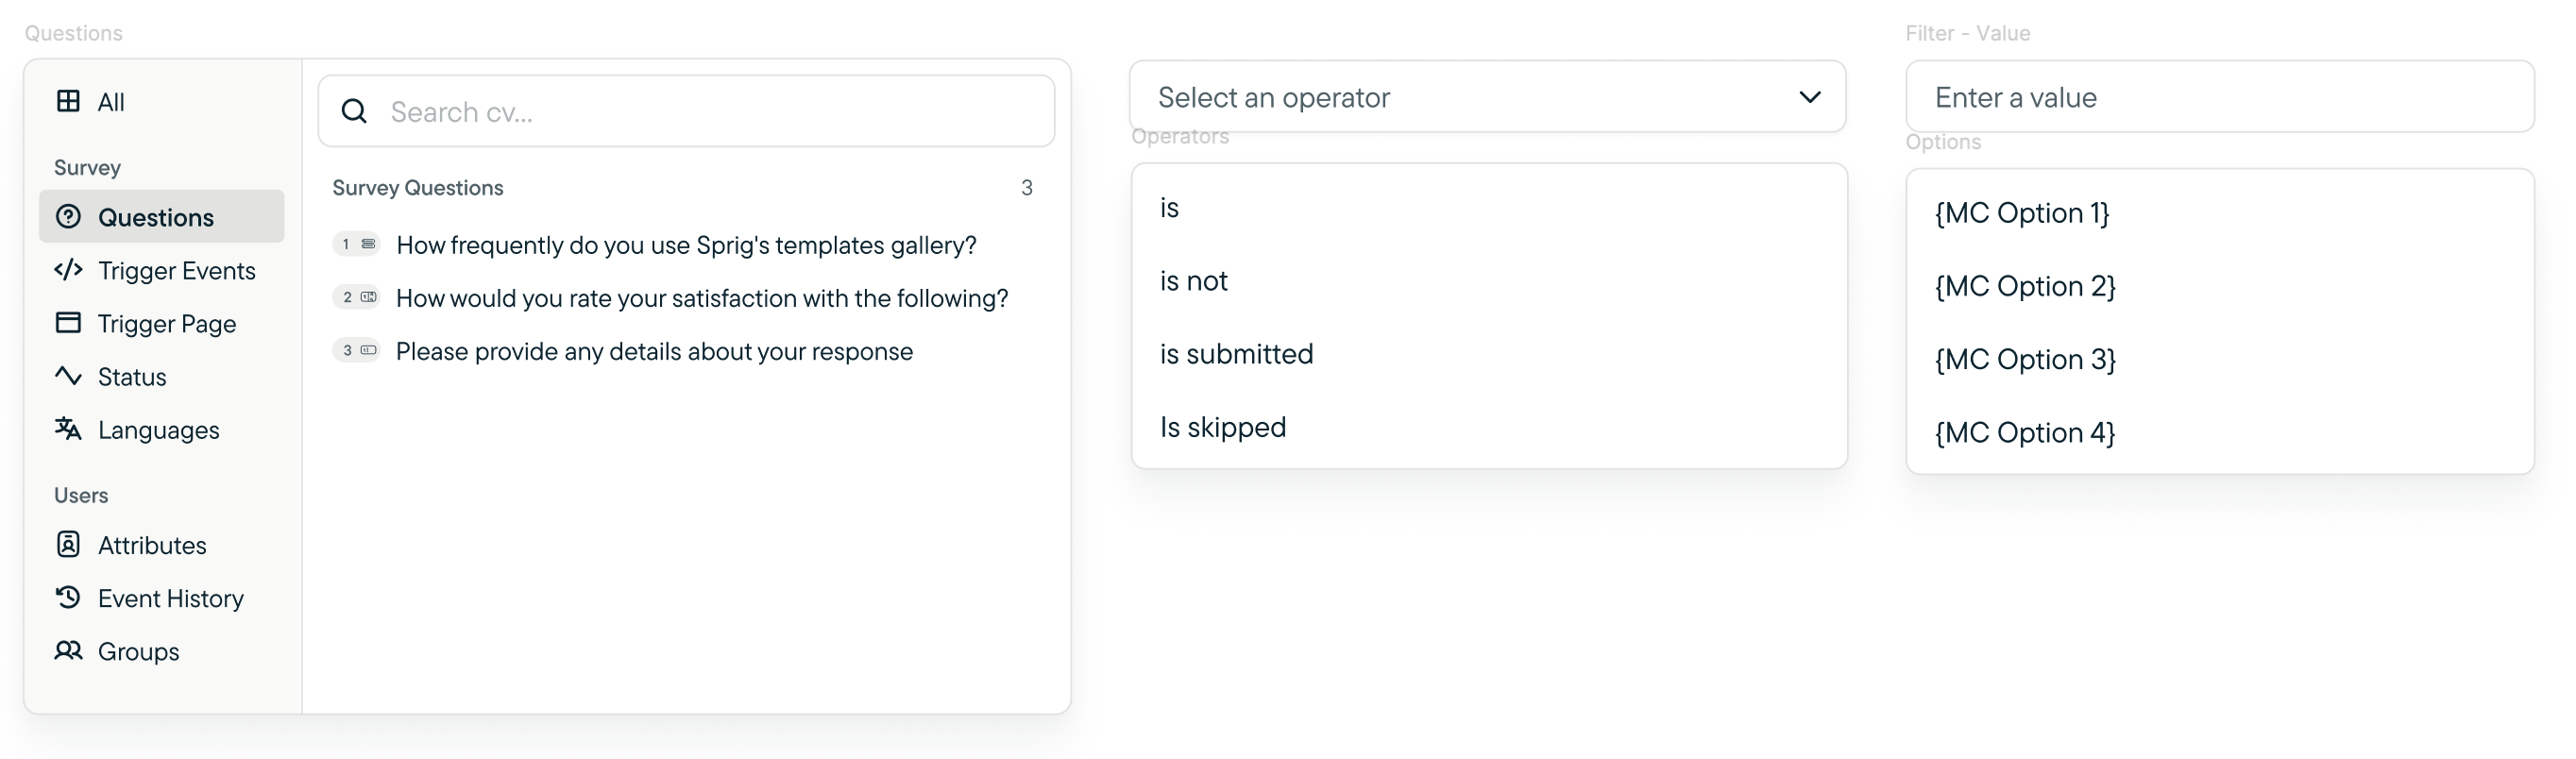
Survey Filters
| Questions | Operators | Value |
|---|
| Questions created in the survey. Use to narrow down questions you want to highlight or dig deeper on. | Is, Is not , is submitted , is skipped | Options specific to the question selected |
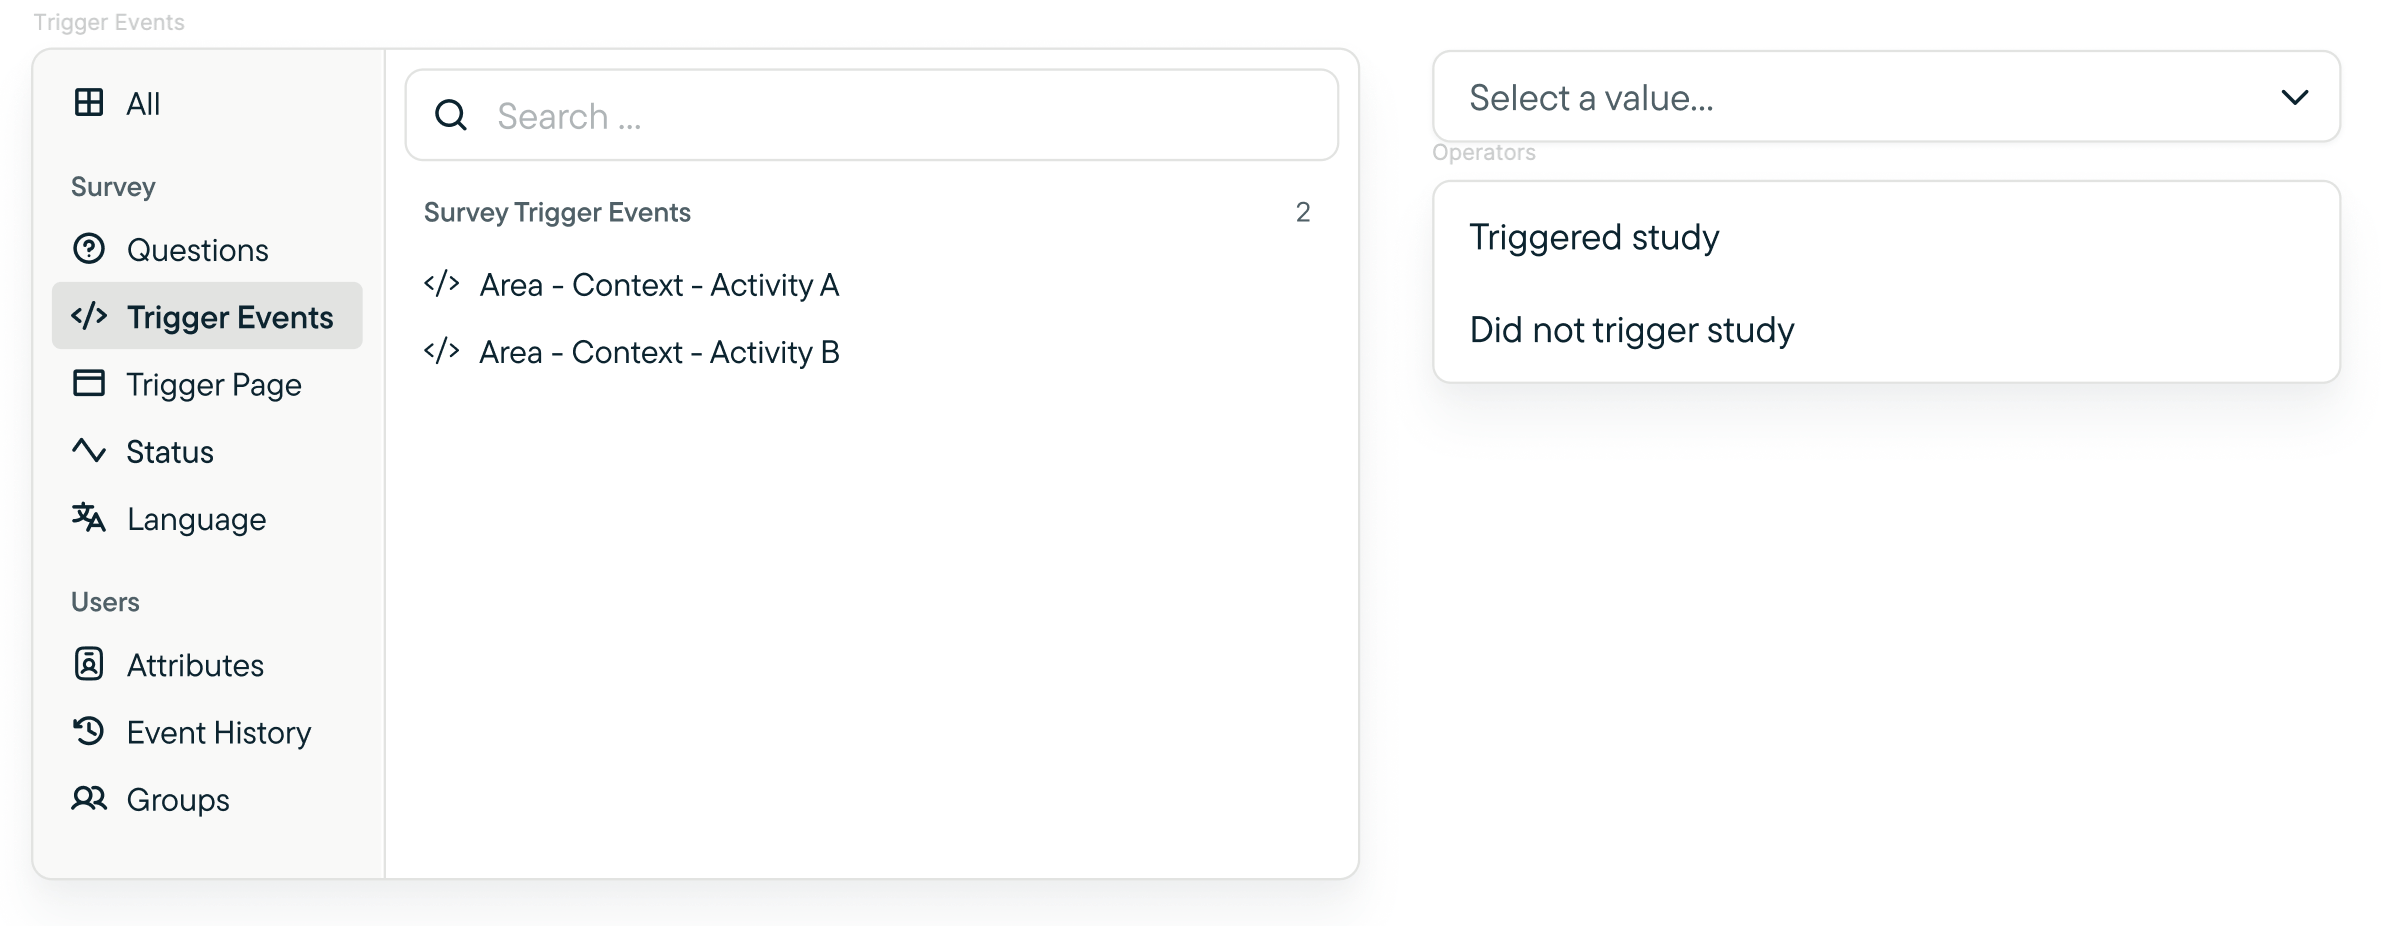
| Trigger Events | Operators |
|---|
| Events that have been triggered in a survey. Used to filter specific events that triggered the survey. | Triggered study, Did not trigger study |
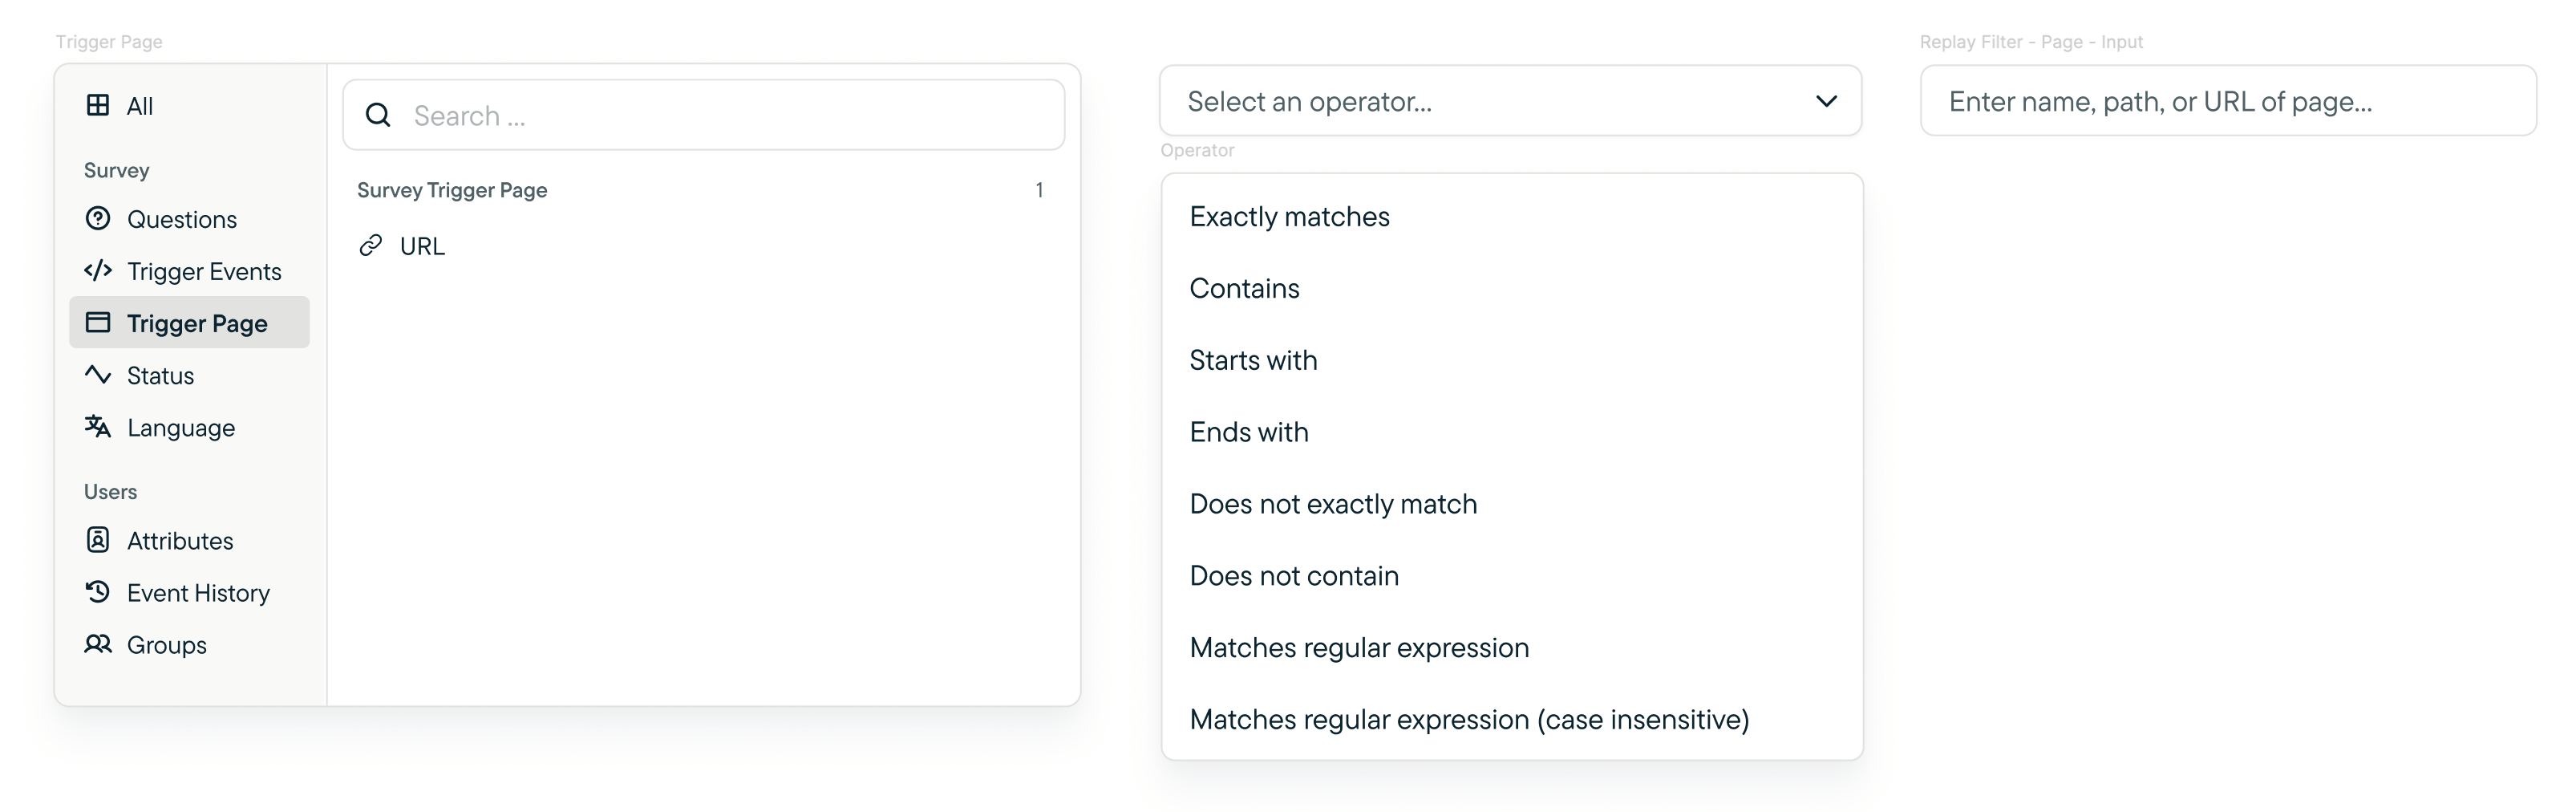
| Trigger Page | Operators | Value |
|---|
| Page on which a user was on when the survey was displayed. Use to target specific survey results when a page was viewed. | Exactly matches, Contains , Starts with , is skipped, Does not exactly match, Does not contain, Matches regular expression, Matches regular express (case sensitive) | Name, path, or a URL of desired page |
Replay Filters
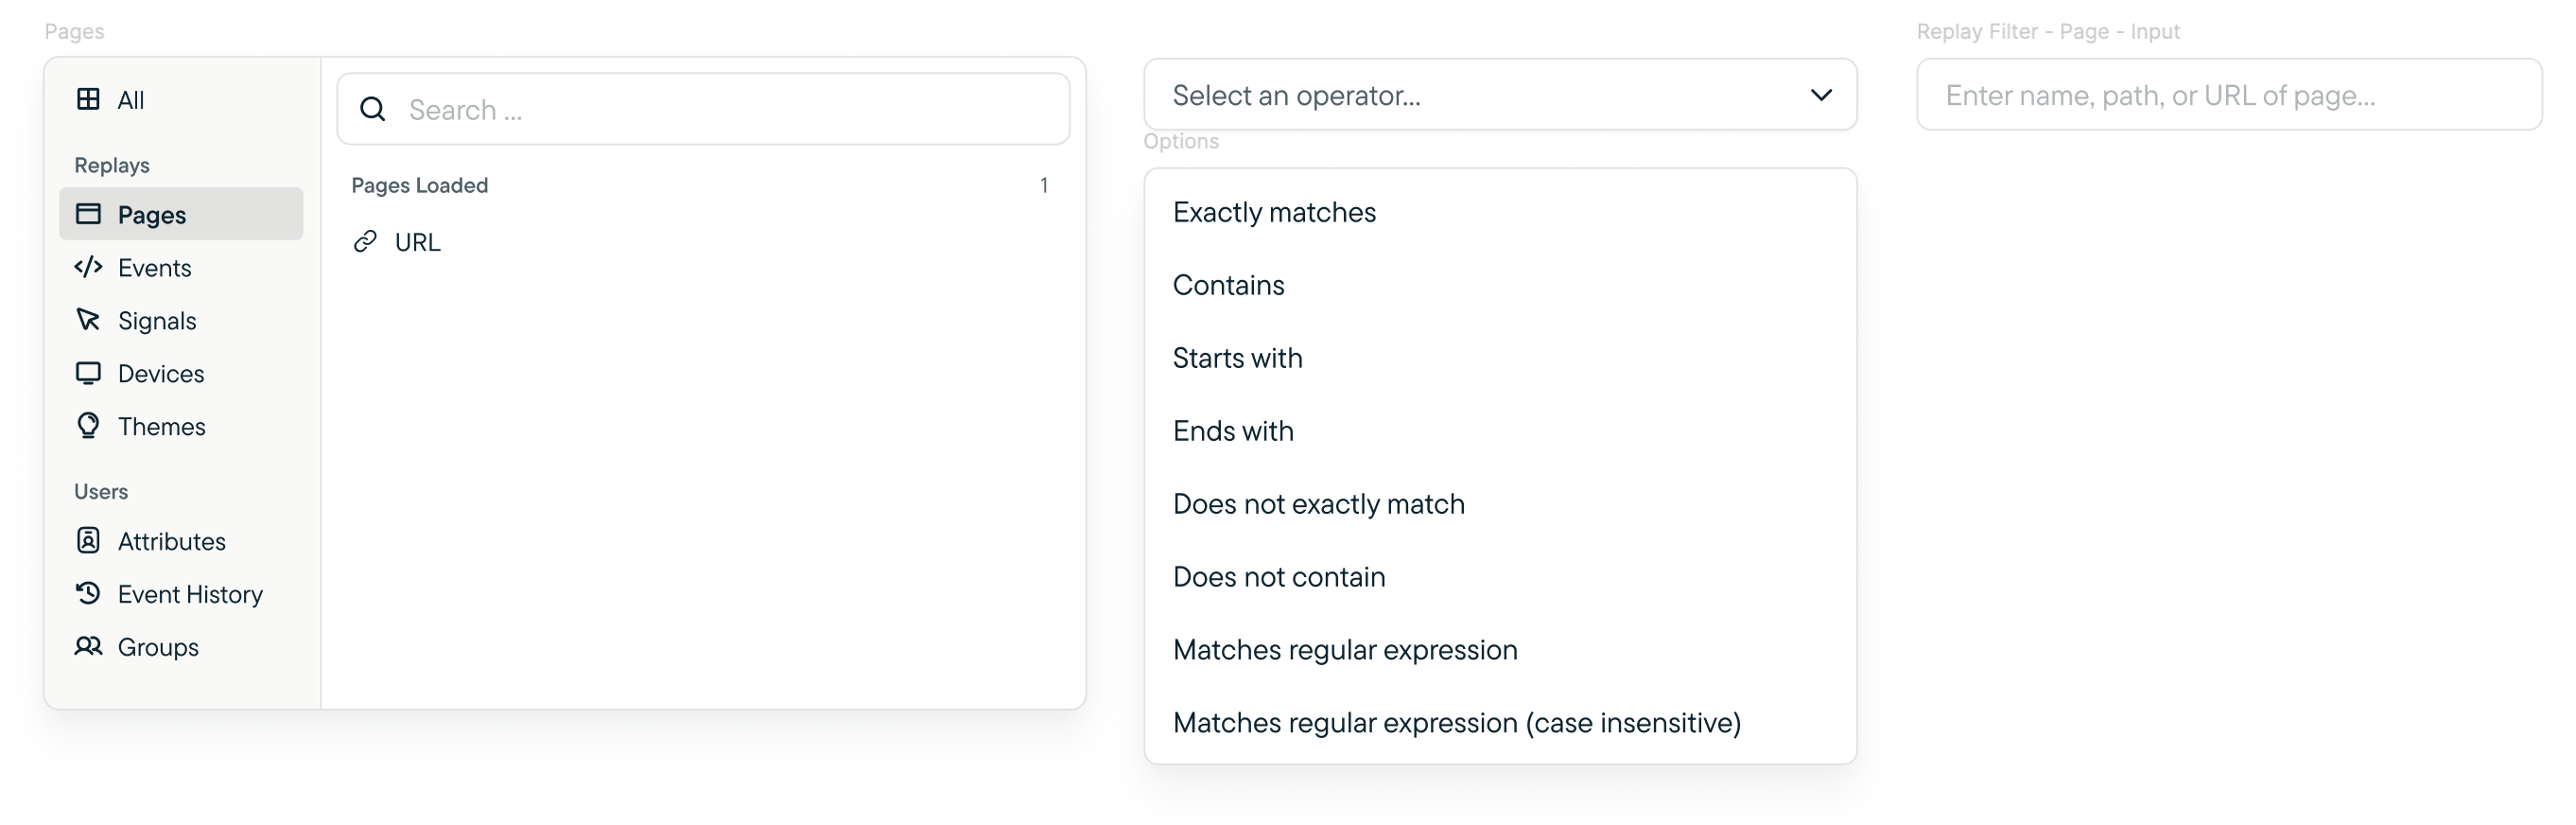
| Pages | Operators | Value |
|---|
| Page on which a user was on when the survey was recording. Use to target specific replay results when a page was viewed. | Exactly matches, Contains , Starts with , is skipped, Does not exactly match, Does not contain, Matches regular expression, Matches regular express (case sensitive) | Name, path, or a URL of desired page |
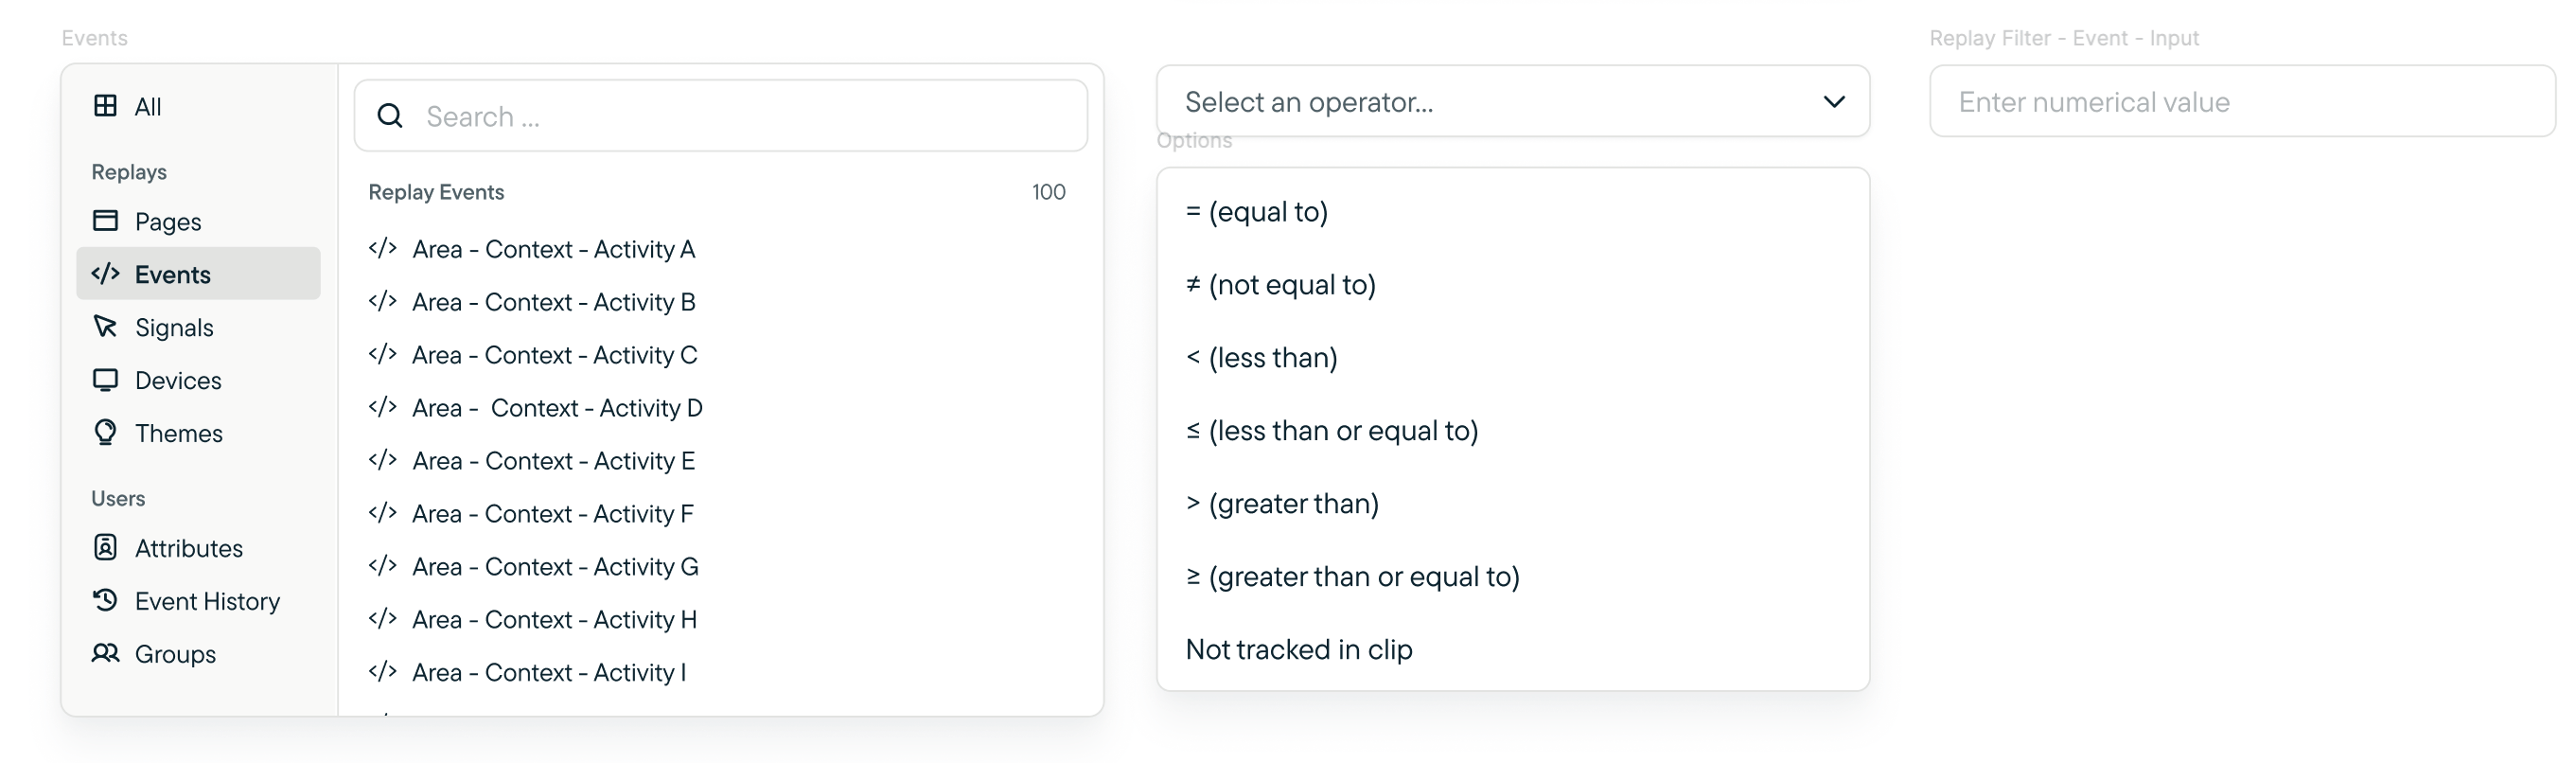
| Events | Operators | Value |
|---|
| Replay Events that are contained within the Replay clips of the study. If an event was never triggered and captured in the Replay study, then it should not show on this list. | = (equal to), ≠ (not equal to) , < (less than) , ≤ (less than or equal to), > (greater than), ≥ (greater than or equal to), Not tracked in clip | Numerical value |
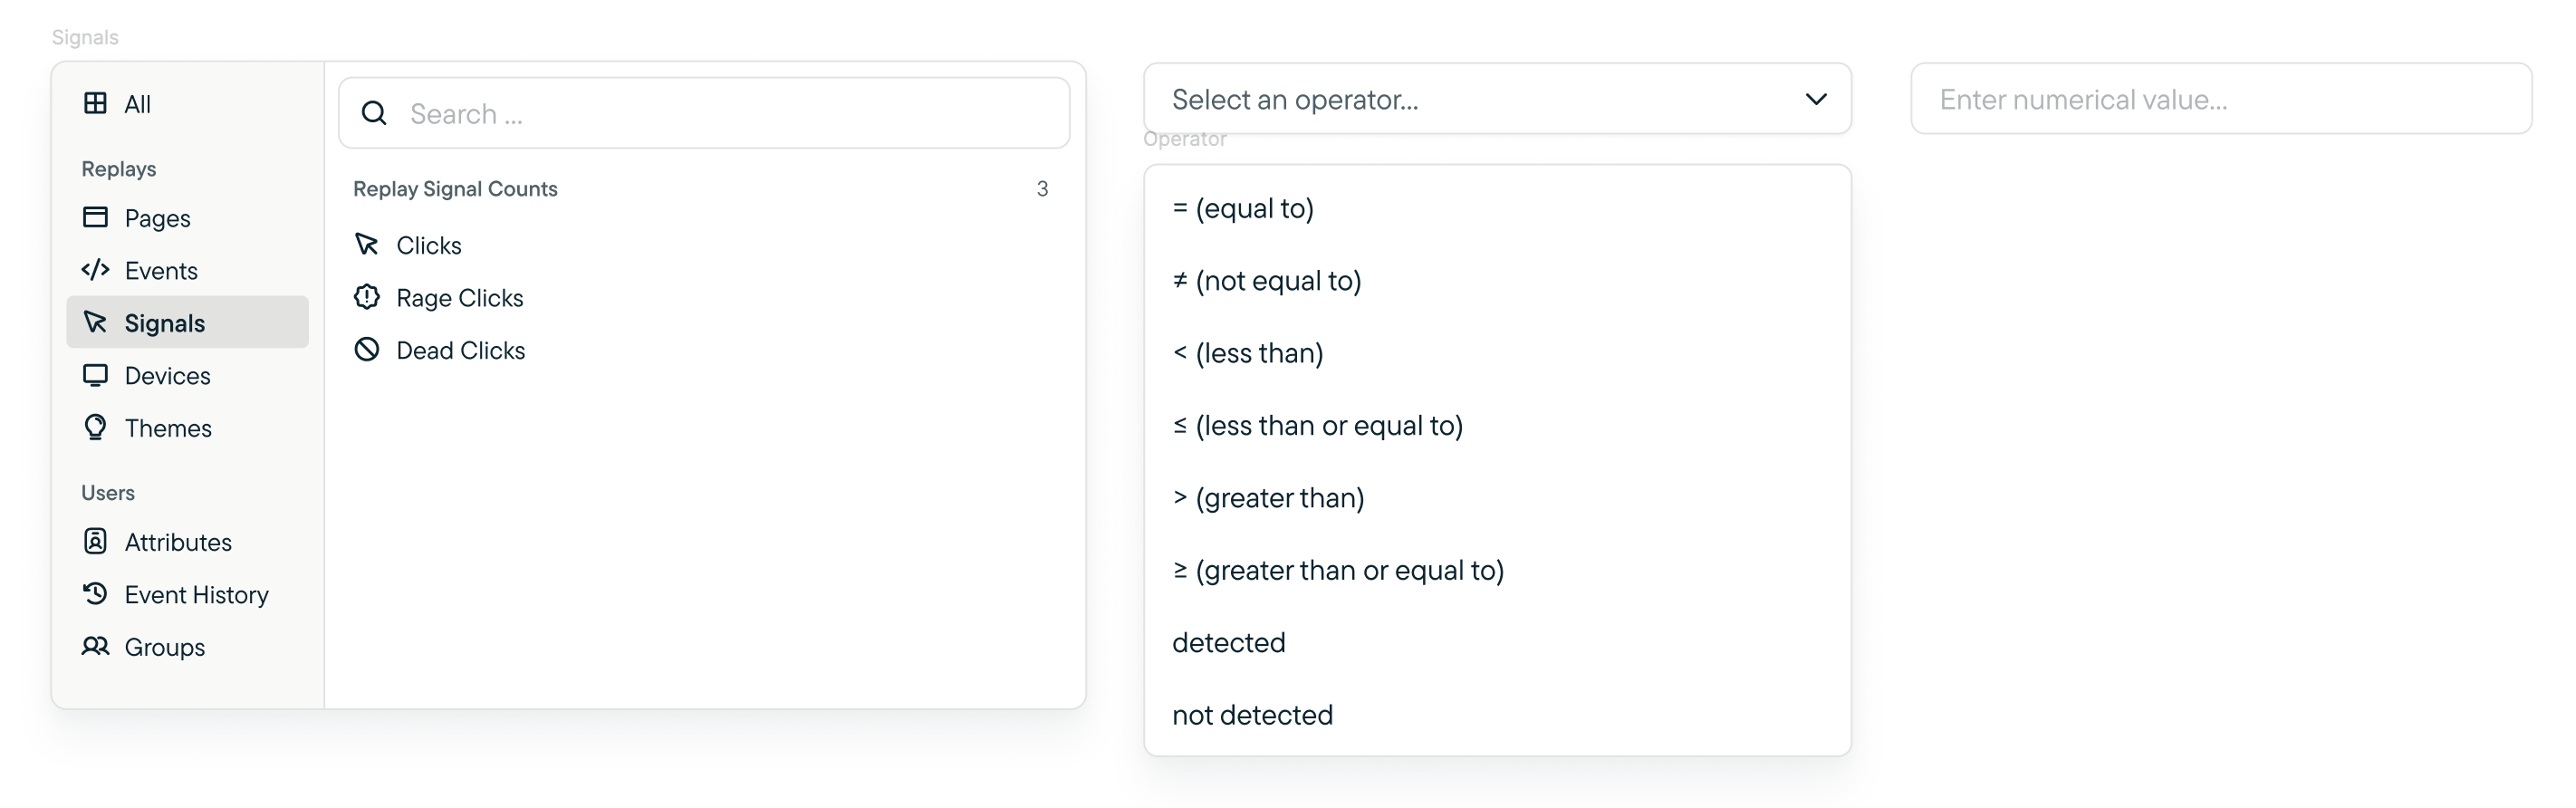
| Signals | Operators | Value |
|---|
| Replay Signals are tracked by interactions and frustrations. Clicks, Rage Cicks, and Dead Clicks are three signals we use in Replays today. | = (equal to), ≠ (not equal to) , < (less than) , ≤ (less than or equal to), > (greater than), ≥ (greater than or equal to), Not tracked in clip | Numerical value |
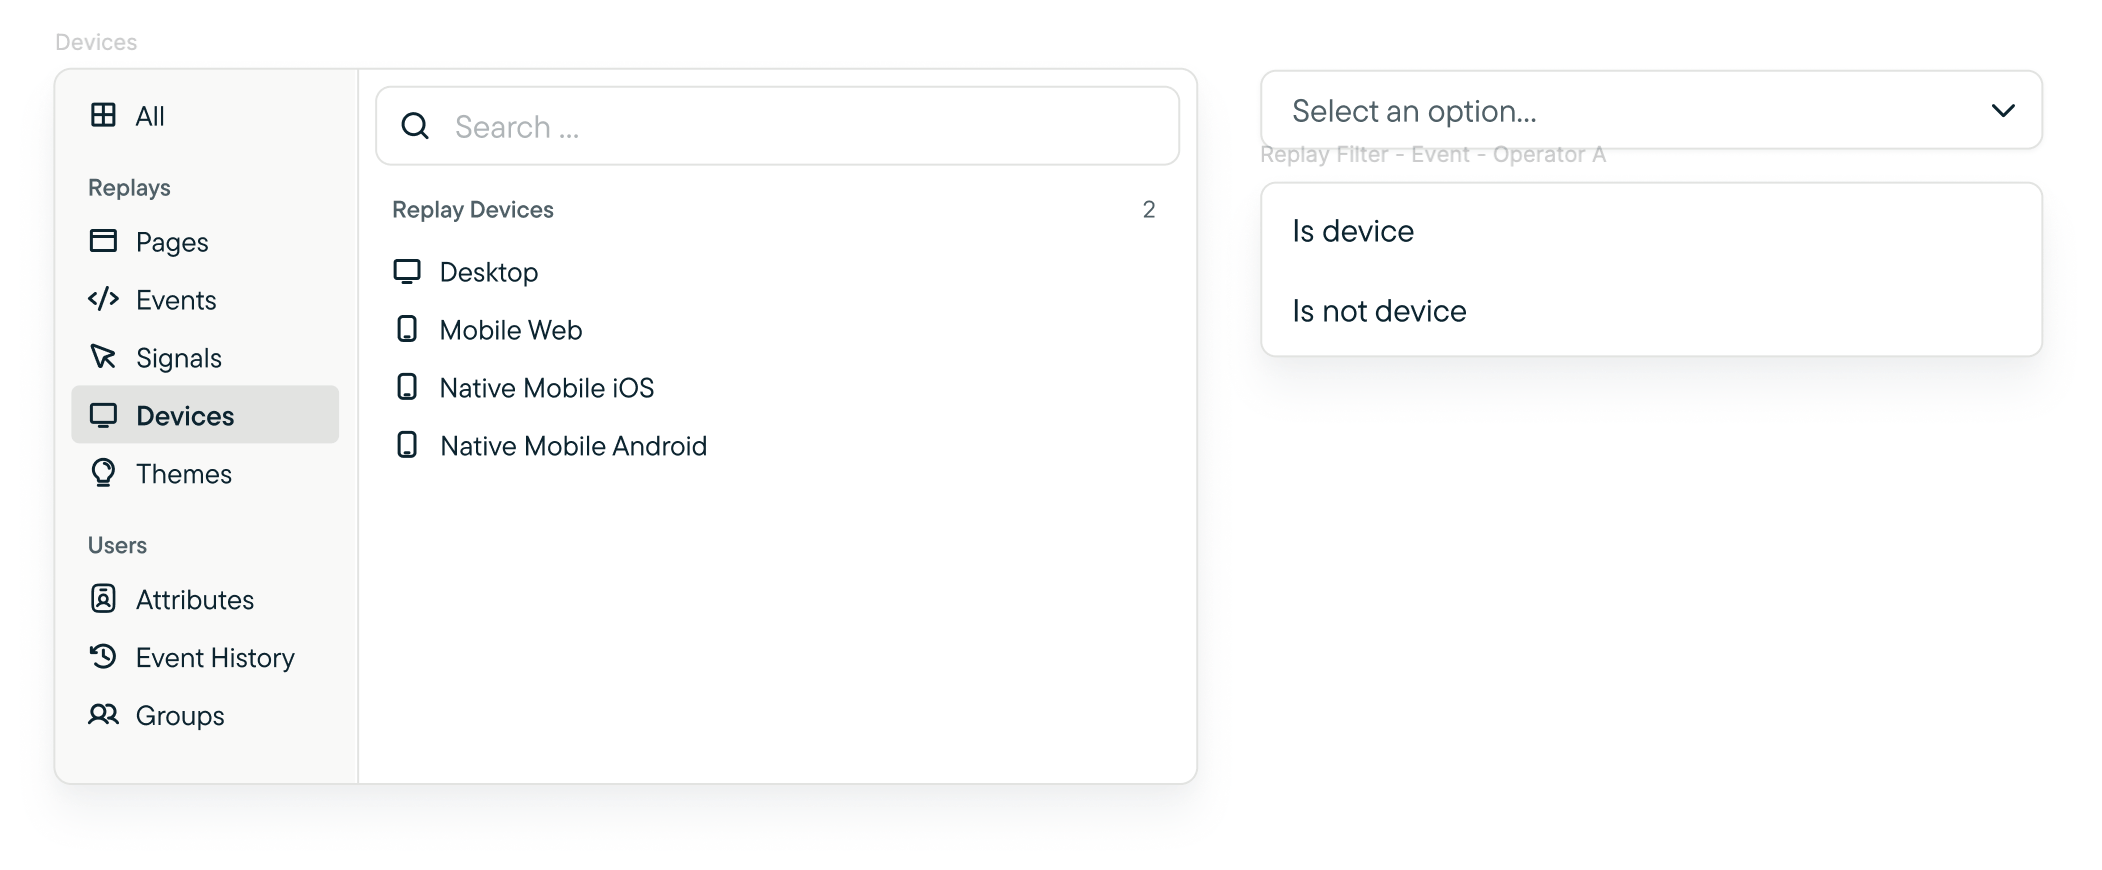
| Devices | Operators |
|---|
| Filter the recordings by device that was used. | is device), is not device |
User Filters
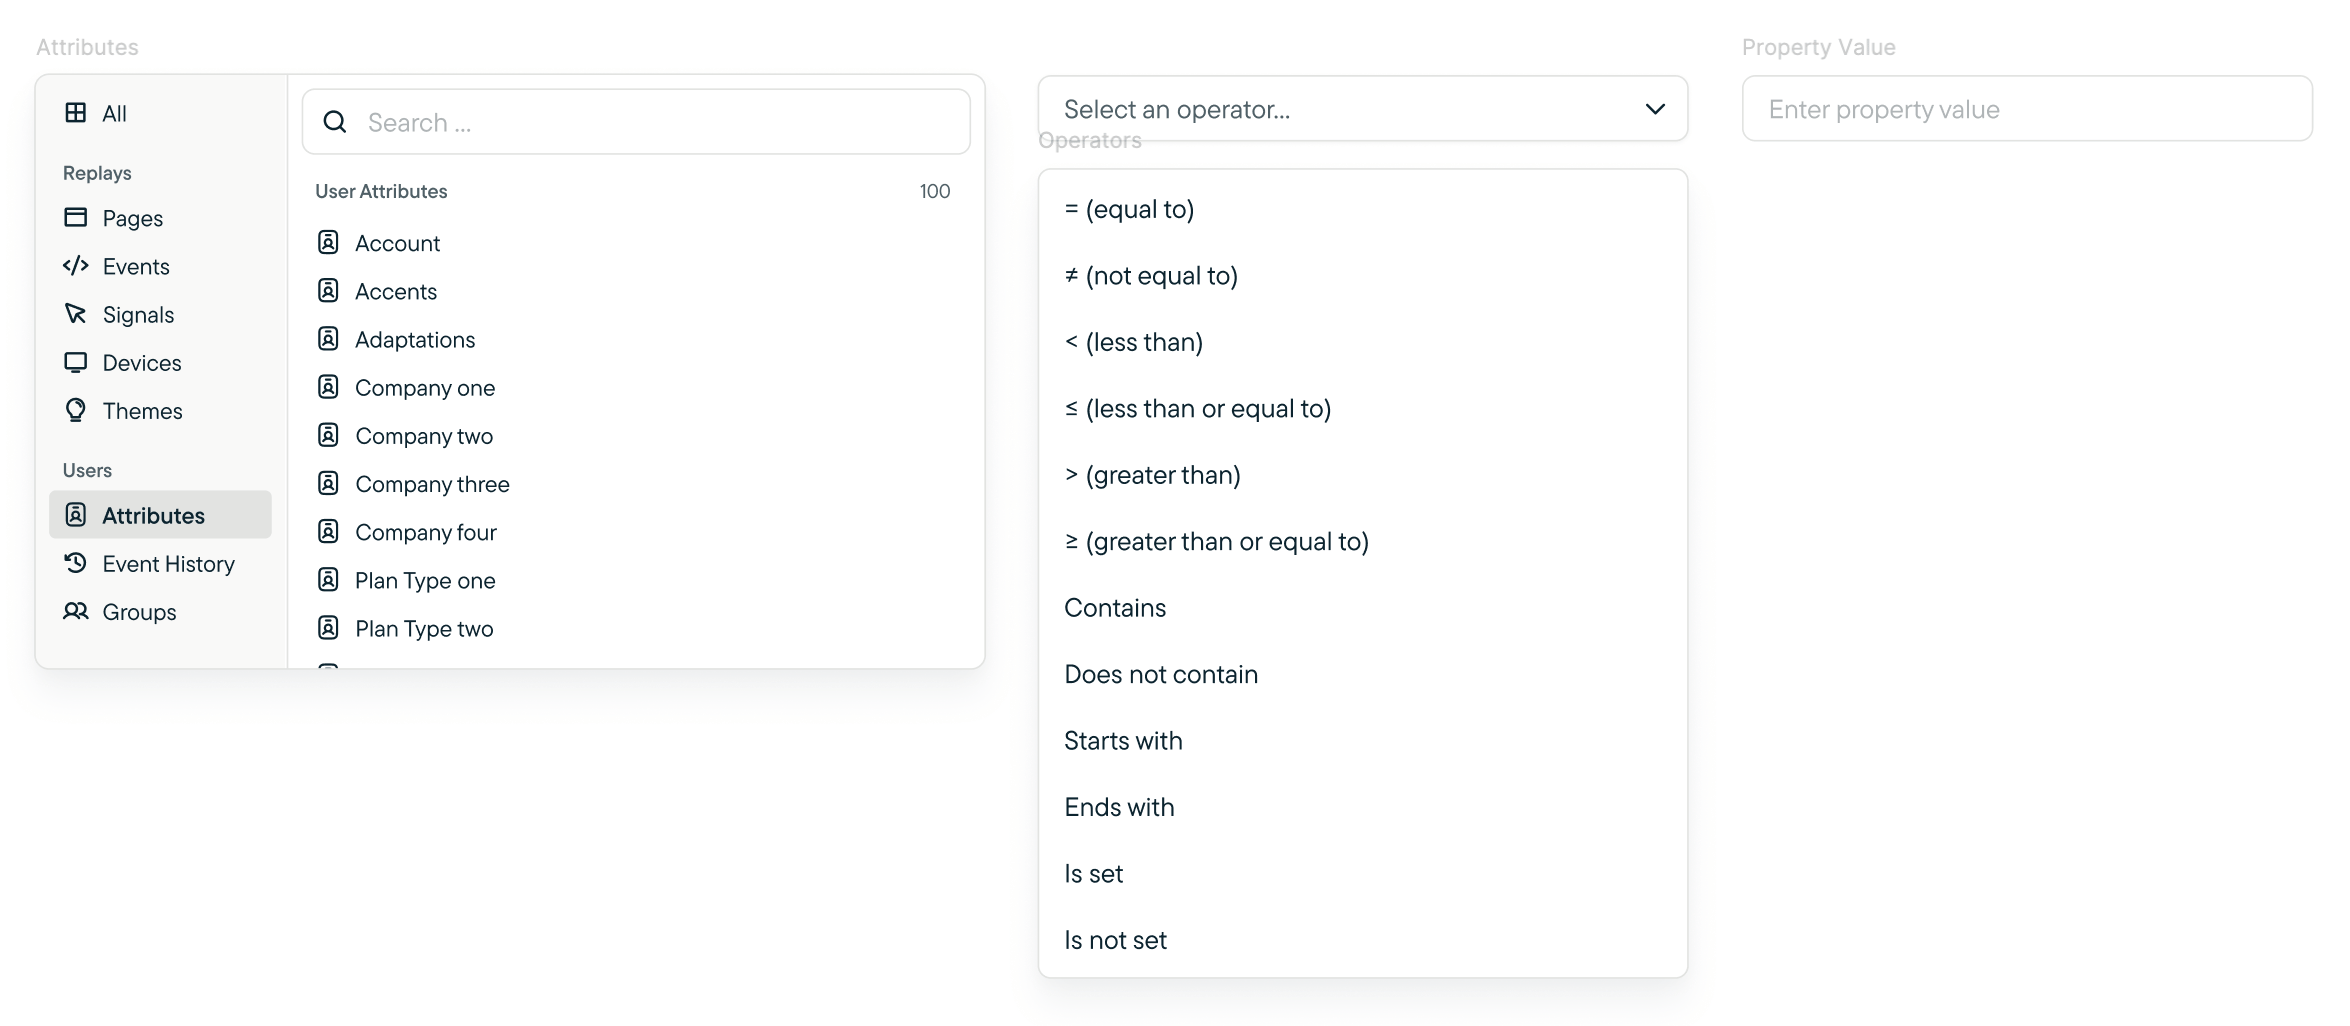
| Attributes | Operators | Property |
|---|
| Ideally only showing Attributes of users captured in the study. | = (equal to), ≠ (not equal to) , < (less than) , ≤ (less than or equal to), > (greater than), ≥ (greater than or equal to), Contains, Does not contain, Starts with, Ends with, Is set, Is not set | Available properties are specific to Attribute selected |
Event History
Event History has sub-filters after selecting an Event specific to your use-case. Use these filters to set parameters around a specific event in your survey.
| Filter | Operator | Value | Use |
|---|
| Tracked | = (equal to), ≠ (not equal to),\< (less than),≤ (less than or equal to), > (greater than), “≥ (greater than or equal to)` | Numeric value | The Tracked operator compares the total number of times an event has been triggered by a visitor, since first being tracked, to the specified value provided by the user |
| First tracked | Is greater than, Is less than , is greater than or equal to , is less than or equal to , is equal to | | The First tracked operator compares the first recorded event trigger and compares to the value specified by the user |
| Last tracked | Is greater than, Is less than , is greater than or equal to , is less than or equal to , is equal to | | The Last tracked operator compares the last recorded event trigger and compares to the value specified by the user |
| Is Set | Yes | | The Is Set operator checks whether or not there is a value stored for the intended event |

